
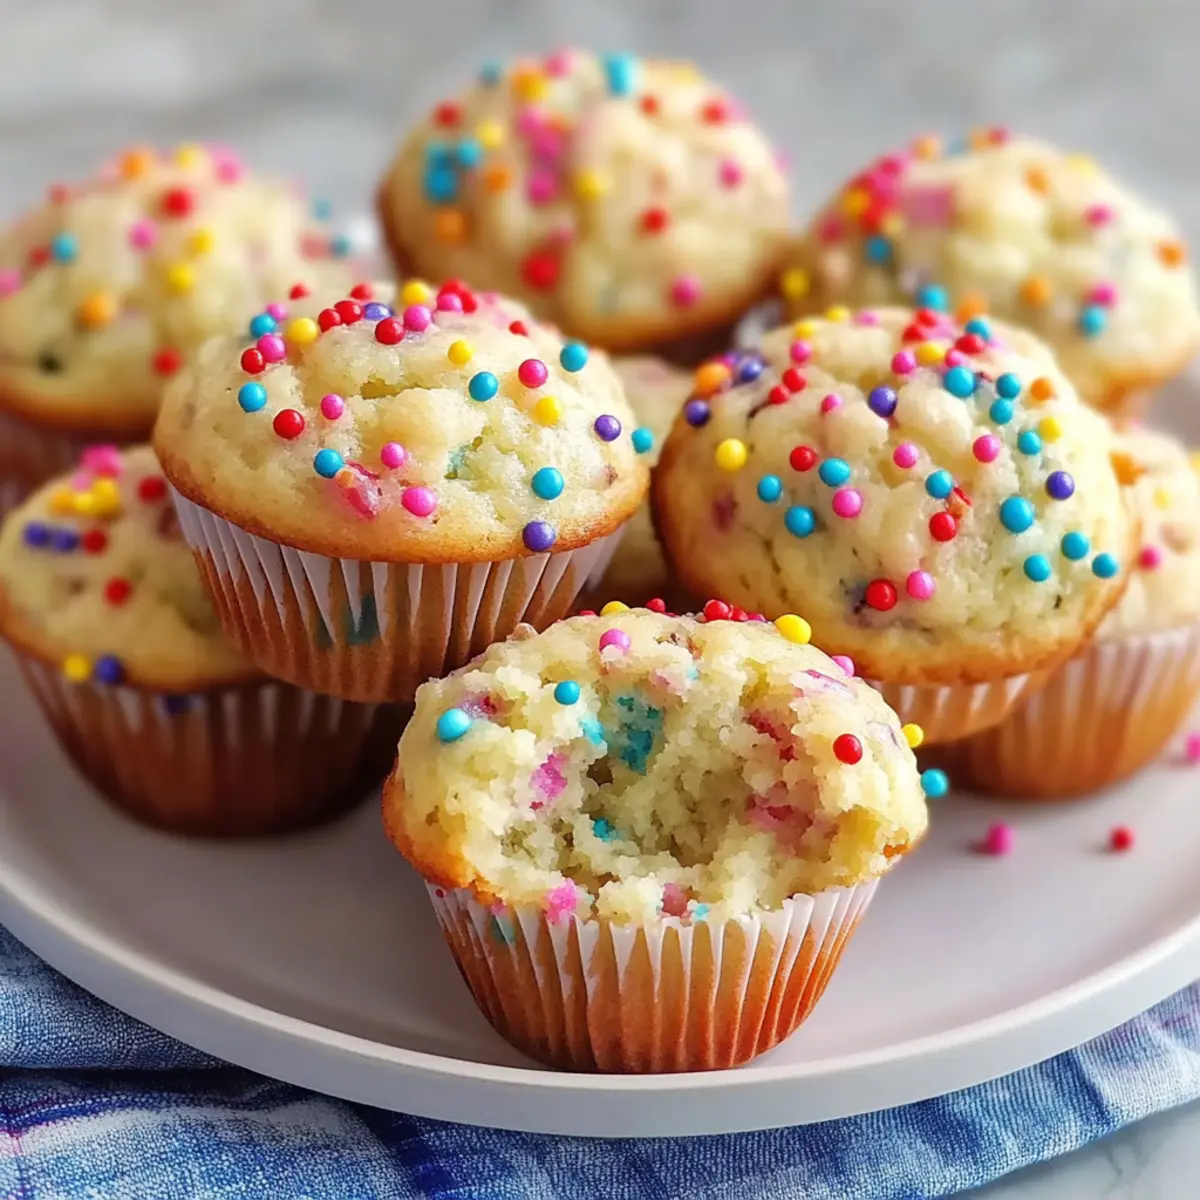
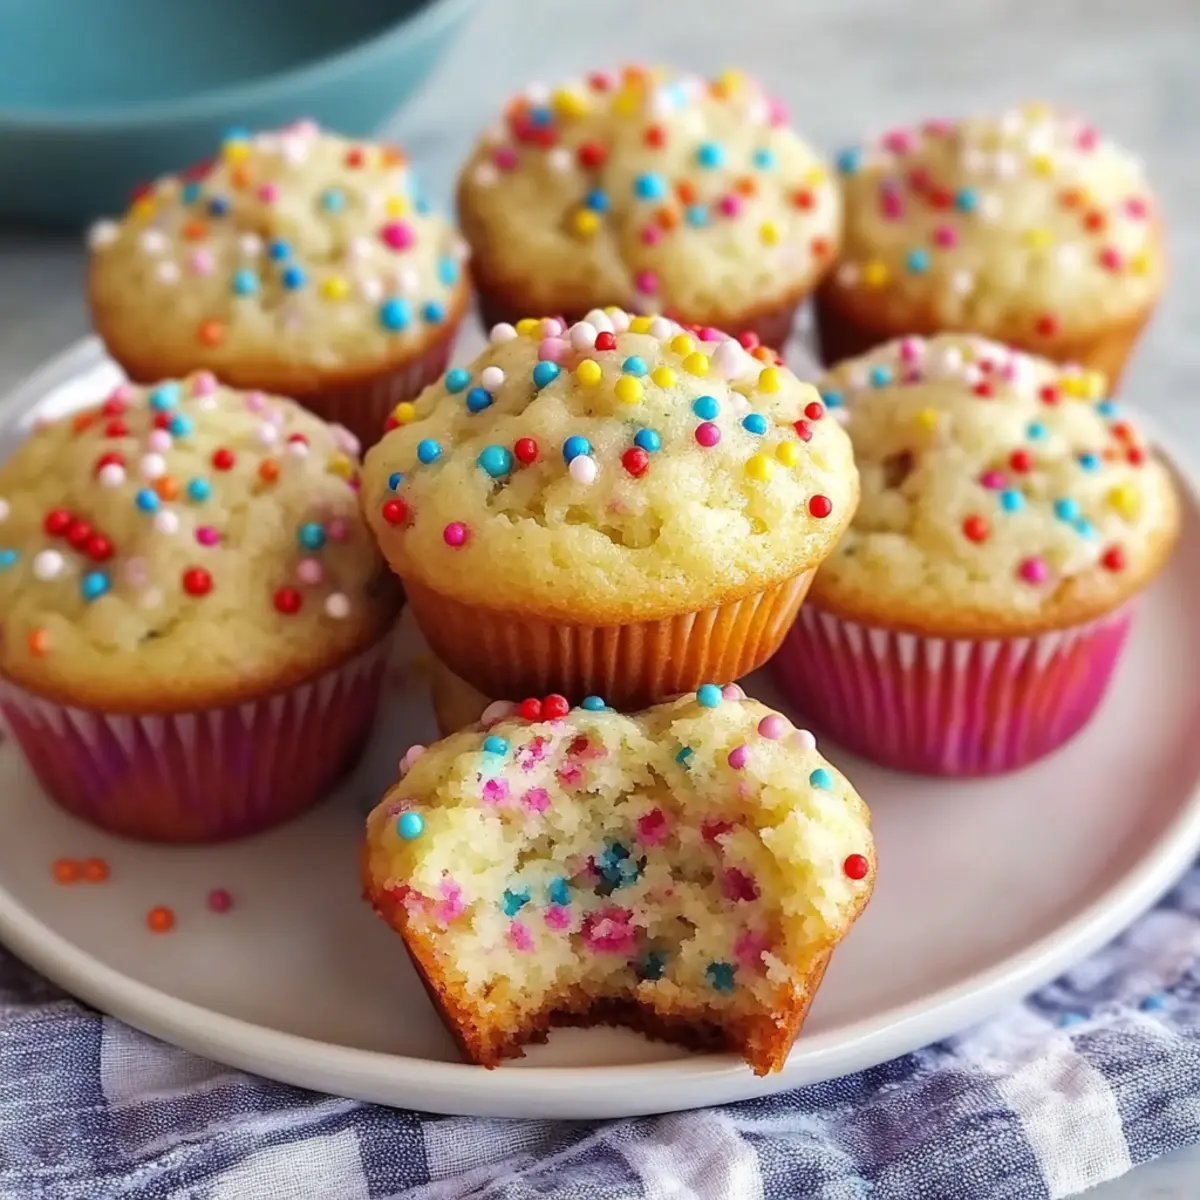
As I was sifting through my cupboard, searching for a fun way to brighten up my breakfast routine, I stumbled upon an old favorite—Mini Funfetti Yogurt Muffins. These delightful bites are not just a treat for special occasions; they’re a healthy indulgence with a twist! With just 15 minutes of prep time, these muffins offer a quick solution for busy mornings, all while maintaining a moist texture thanks to yogurt and keeping sugar levels low. Plus, they’re incredibly customizable, with options for gluten-free and dairy-free diets, making them a perfect fit for everyone. Are you ready to elevate your morning with these colorful, joyful muffins?

Why Are Mini Funfetti Yogurt Muffins Perfect?
Customizable for everyone: With simple substitutions, these muffins easily adapt to be gluten-free, vegan, or dairy-free. Quick prep time of only 15 minutes means you can whip them up whenever cravings strike. Playful and colorful sprinkles bring a festive flair, making them great for any celebration. Healthier option: Enjoy the moist, fluffy texture without the guilt of high sugar content. Ideal for busy families, these muffins pack a delicious nutritional punch while not compromising on flavor—check out our Mini Pumpkin Cheese balls for another fun treat!
Mini Funfetti Yogurt Muffins Ingredients
Get ready for fun!
- For the Muffins
• Plain Yogurt – Adds moisture and protein; substitute with dairy-free yogurt for a lactose-free version.
• Milk – Provides additional moisture; any plant-based milk can be used as a substitute.
• Mild Flavored Oil or Melted Butter – Adds richness; can be swapped with coconut oil for a healthier option.
• Large Eggs (3) – Provides structure and binds the ingredients; substitute with flax eggs for a vegan version.
• Vanilla Extract – Enhances flavor; you can substitute it with almond extract for a unique twist.
• All-purpose Flour (2 cups) – Main structure ingredient; substitute with a gluten-free flour blend if necessary.
• Light Brown Sugar (½ cup) – Adds sweetness and moisture; can replace with coconut sugar for a low glycemic index option.
• Baking Soda (1 tsp) – Helps muffins rise and become fluffy.
• Salt (½ tsp) – Balances sweetness and enhances flavor.
• Rainbow Sprinkles (¼ cup) – Adds color and fun; opt for dye-free sprinkles for a healthier choice.
Enjoy baking your Mini Funfetti Yogurt Muffins for a delightful treat!
Step‑by‑Step Instructions for Mini Funfetti Yogurt Muffins
Step 1: Preheat and Prepare
Begin by preheating your oven to 400°F (200°C). While it warms up, prepare a mini muffin tin by lightly spraying it with nonstick spray or lining it with mini muffin liners. This ensures that your Mini Funfetti Yogurt Muffins won’t stick, allowing for easy removal after baking.
Step 2: Mix Wet Ingredients
In a large mixing bowl, combine the plain yogurt, milk, oil or melted butter, eggs, and vanilla extract. Use a whisk to stir these ingredients together until just blended, aiming for a smooth mixture. Take care not to overmix, as you want to keep the batter light and fluffy for the best muffin texture.
Step 3: Combine Dry Ingredients
Gradually add the all-purpose flour, light brown sugar, baking soda, and salt to the wet mixture. Using a spatula, gently fold in the dry ingredients until just combined. Be conscious to avoid overmixing as well, leaving a few small lumps in the batter, which will contribute to the lightness of your Mini Funfetti Yogurt Muffins.
Step 4: Fold in Sprinkles
Carefully fold in the rainbow sprinkles with a gentle hand. This will help you maintain the vibrant colors without them bleeding into the batter. The sprinkles will add that fun, festive flair to your muffins, making them perfect for any celebration or just a colorful breakfast treat.
Step 5: Fill Muffin Cups
Using a small scoop or spoon, fill each muffin cup about ¾ full with the batter. This allows enough room for the muffins to rise and become fluffy without overflowing. Ensure each cup is filled evenly for consistent baking and beautiful Mini Funfetti Yogurt Muffins.
Step 6: Bake to Perfection
Place the muffin tin in the preheated oven and bake for 9–11 minutes. Keep an eye on them; they’re ready when a toothpick inserted into the center comes out clean and the tops are a light golden color. The delightful aroma will fill your kitchen, making it hard to wait!
Step 7: Cool and Enjoy
Once baked, remove the muffin tin from the oven and let it cool for about 10 minutes in the pan. This resting time helps the Mini Funfetti Yogurt Muffins set and makes it easier to transfer them to a wire rack without breaking. After cooling, enjoy your muffins fresh or store them for later!
Mini Funfetti Yogurt Muffins Variations
Feel free to let your creativity shine and make these muffins truly your own!
- Vegan Twist: Replace eggs with flax eggs (1 tablespoon flaxseed meal + 2.5 tablespoons water) for a plant-based delight.
- Gluten-Free Goodness: Use a gluten-free flour blend for those with sensitivities. The flavor and texture remain delightful!
- Sugar Swap: Opt for coconut sugar instead of light brown sugar for a lower glycemic index, making treats a tad healthier.
- Flavor Burst: Add mini chocolate chips or fresh blueberries to the mix for a fun texture and burst of flavor in every bite.
- Citrus Zest: Incorporate lemon or orange zest to brighten the flavor profile and add a refreshing twist.
- Nutty Variation: Mix in finely chopped nuts like almonds or walnuts for added crunch and heartiness. Just be wary of nut allergies!
- Spicy Kick: Add a dash of cinnamon or nutmeg to warm up the flavor, perfect for chilly mornings.
- Dye-Free Sprinkles: For a healthier option, use natural or organic sprinkles to keep things festive without artificial dyes.
Have fun exploring these possibilities! And if you’re ever in the mood for another colorful treat, don’t forget to check out our Mini Pumpkin Cheese balls for a delightful flavor journey!
Expert Tips for Mini Funfetti Yogurt Muffins
- Avoid Overmixing: To keep your muffins light and fluffy, mix until just combined. A few lumps are okay!
- Choose the Right Sprinkles: Select dye-free sprinkles for a healthier option. They’ll still bring lots of color without artificial additives.
- Check for Doneness: Insert a toothpick into the center of a muffin—if it comes out clean, your Mini Funfetti Yogurt Muffins are ready to enjoy!
- Cool Properly: Let the muffins sit in the pan for 10 minutes before transferring to a wire rack, ensuring they maintain their fluffy texture.
- Experiment with Flavor: Don’t hesitate to add unique ingredients like lemon zest or mini chocolate chips for a fun twist on your funfetti muffins!
How to Store and Freeze Mini Funfetti Yogurt Muffins
Room Temperature: Store muffins in an airtight container at room temperature for up to 2-3 days to maintain their fresh, fluffy texture.
Fridge: For extended freshness, keep the muffins in the refrigerator for up to 4 days. Just make sure to wrap them well to prevent drying out.
Freezer: After flash-freezing, Mini Funfetti Yogurt Muffins can be stored in the freezer for up to 2-3 months. Just thaw them at room temperature or pop them in the microwave for a quick treat!
Reheating: To enjoy muffins warm, reheat in the microwave for 10-15 seconds or in the oven at 350°F (175°C) for about 5-7 minutes until heated through.
What to Serve with Mini Funfetti Yogurt Muffins?
Brighten your breakfast or snack time with delightful pairings that take these festive muffins to the next level.
-
Fresh Fruit Salad: A medley of colorful fruits brings a refreshing balance to the sweetness of the muffins, making each bite a joyful explosion of flavor.
-
Yogurt Parfaits: Layer creamy yogurt and granola with extra sprinkles for a fun, crunchy texture. The tanginess of yogurt complements the sweetness of the muffins perfectly!
-
Smoothie Bowl: Serve with a vibrant smoothie bowl topped with nuts and seeds. The fruity flavors and creaminess harmonize deliciously with the muffins’ playful notes.
-
Honey Drizzle: A simple drizzle of honey adds a touch of natural sweetness that elevates the muffins without overpowering their funfetti charm.
-
Nut Butter: Try spreading almond or peanut butter on your muffin for a protein-packed punch. The richness enhances the overall taste, especially with a sprinkle of salt.
-
Coffee or Tea: Pair your muffins with a warm cup of coffee or tea. The comforting notes balance the sweet flavors and create the perfect cozy moment.
-
Dark Chocolate Shavings: Add a sprinkle of dark chocolate on top for an indulgent twist. The bittersweet notes contrast beautifully with the muffins’ sweetness.
-
Coconut Whipped Cream: For a dessert-like treat, top your muffins with a dollop of coconut whipped cream. It’s a delightful way to enhance the fun factor!
Make Ahead Options
These Mini Funfetti Yogurt Muffins are perfect for busy home cooks looking to save time! You can prepare the dry ingredients (flour, baking soda, salt, and sugar) up to 3 days in advance, storing them in an airtight container to maintain freshness. Additionally, you can mix and refrigerate the wet ingredients (yogurt, milk, oil, eggs, and vanilla) for up to 24 hours prior to baking. When you’re ready to enjoy these delightful muffins, simply combine both mixtures, fold in the sprinkles, and bake as directed. With this simple meal prep strategy, you’ll have warm, fluffy muffins ready with minimal effort, making mornings a breeze!

Mini Funfetti Yogurt Muffins Recipe FAQs
What type of yogurt should I use for the muffins?
I recommend using plain yogurt for the best results, as it adds moisture and protein. If you’re seeking a lactose-free option, feel free to substitute with your favorite dairy-free yogurt, such as almond or coconut yogurt, without compromising the flavor or texture of your Mini Funfetti Yogurt Muffins.
How long can I store the muffins, and what’s the best way?
To keep your muffins fresh, store them in an airtight container at room temperature for up to 2-3 days. If you want them to last longer, you can refrigerate them for up to 4 days. Just make sure to wrap them well to prevent drying out—nobody likes a dry muffin!
Can I freeze these muffins for later?
Absolutely! After baking, allow the muffins to cool completely. To freeze, arrange them in a single layer on a baking sheet and place them in the freezer until they are solid (about 1-2 hours). Once frozen, transfer them to an airtight container or freezer bag, and they’ll stay fresh for up to 2-3 months. When you’re ready to enjoy, simply thaw them at room temperature or pop them in the microwave for a quick warm-up!
What do I do if my muffins don’t rise properly?
If your Mini Funfetti Yogurt Muffins don’t rise as expected, it might be due to expired baking soda. Always check your baking soda’s freshness before use; it should have a tangy smell when mixed with vinegar. Also, remember not to overmix the batter; keep it light and fluffy by mixing until just combined!
Are there any dietary considerations with these muffins?
The beauty of these muffins is that they are highly customizable! You can easily make them vegan by substituting eggs with flax eggs (1 tablespoon of ground flaxseed mixed with 2.5 tablespoons of water equals one egg) and using dairy-free yogurt and milk. Additionally, for a gluten-free version, swap out the all-purpose flour with a gluten-free flour blend. Always check labels for potential allergens, especially when using sprinkles or alternative ingredients.
What if I want to use different flavors for these muffins?
The more the merrier! You can experiment by folding in mini chocolate chips, fresh blueberries, or even some citrus zest. These additions not only enhance the flavor but also add a delightful twist to your Mini Funfetti Yogurt Muffins, making them perfect for any occasion!
Mini Funfetti Yogurt Muffins: A Wholesome Treat for Every Celebration
Ingredients
Equipment
Method
- Preheat your oven to 400°F (200°C) and prepare a mini muffin tin.
- In a large mixing bowl, combine the yogurt, milk, oil or melted butter, eggs, and vanilla. Stir until just blended.
- Gradually add the flour, brown sugar, baking soda, and salt, folding in until just combined.
- Gently fold in the rainbow sprinkles.
- Fill each muffin cup about ¾ full with the batter.
- Bake for 9–11 minutes until a toothpick comes out clean and tops are golden.
- Let cool in the pan for about 10 minutes before transferring to a wire rack.
Leave a Reply