
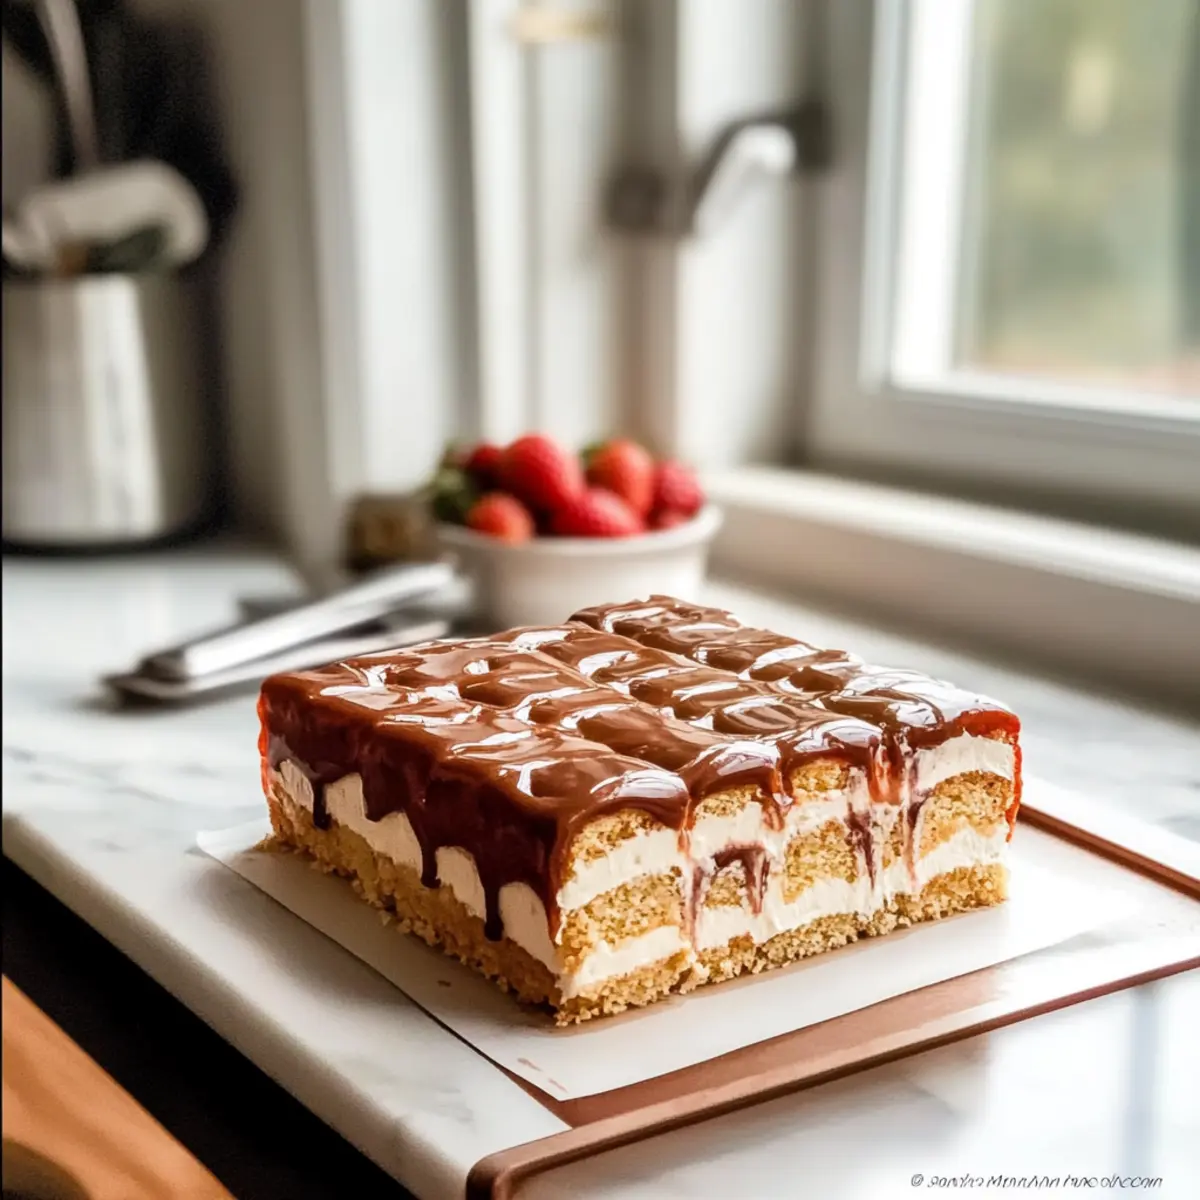
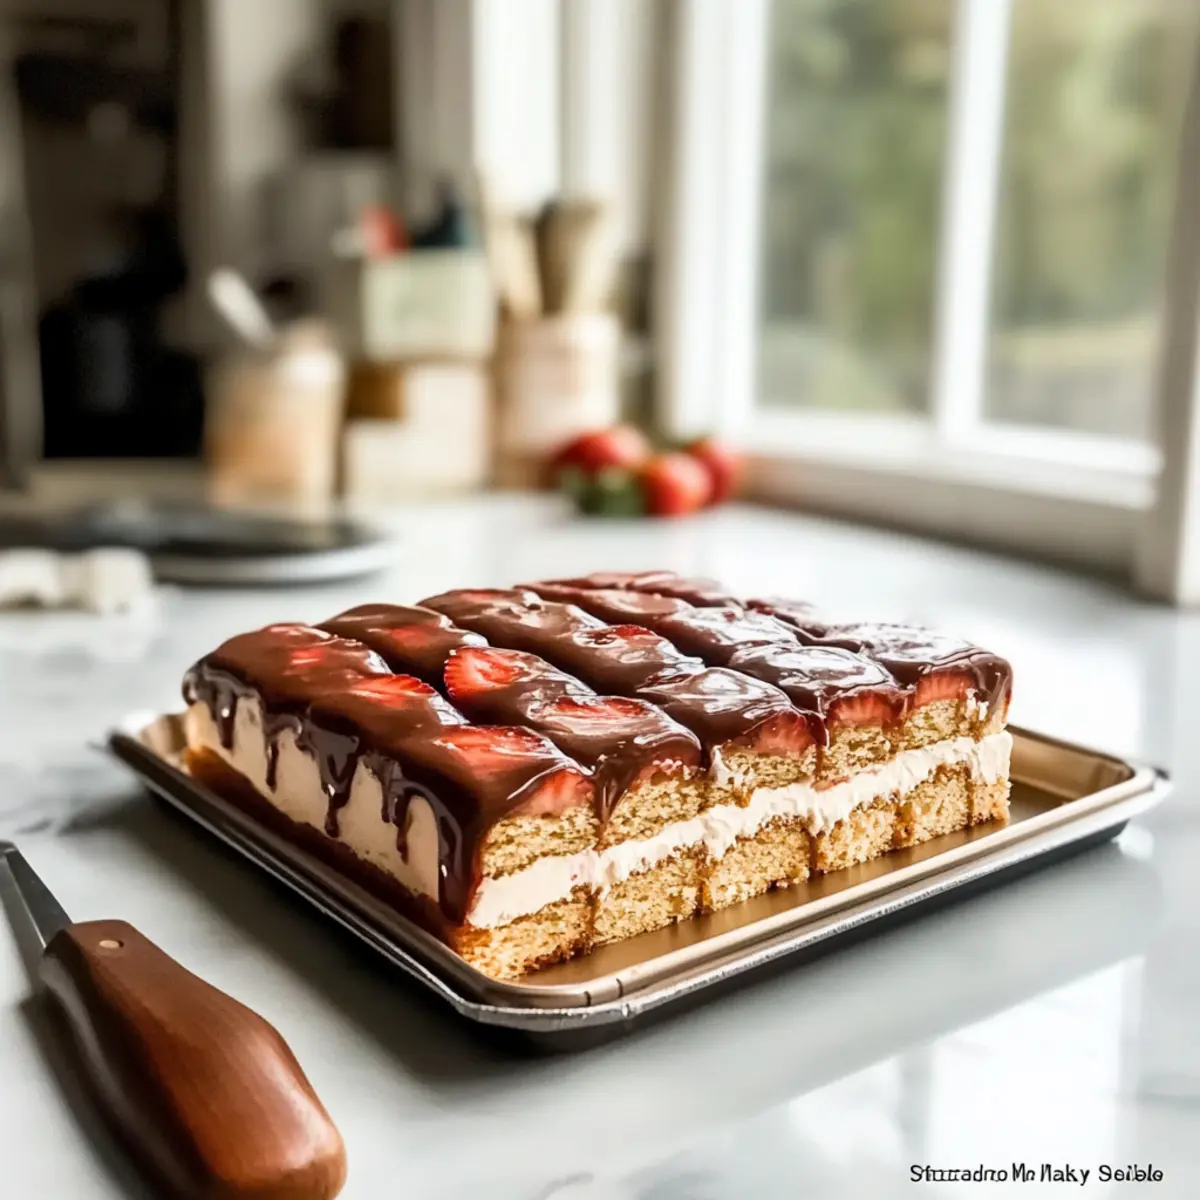
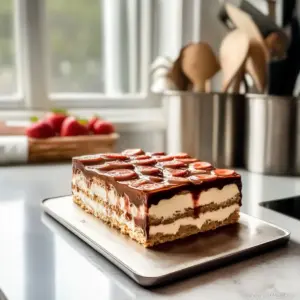
With each bite, the memories of sun-soaked picnics and family gatherings come rushing back as I reminisce about those sweet moments. This Mother’s Day, why not surprise the fabulous women in your life with no-bake chocolate oat bars? These delightful bites combine rich chocolate with wholesome oats to create a treat that’s not only indulgent but also easy to whip up at home. Perfect for those busy days when you want to show love without stressing yourself out, this recipe requires minimal effort yet promises maximum joy. Plus, they’re a hit with kids and adults alike, making them a fantastic crowd-pleaser! Ready to dive into these simple delights and create a memory that’ll last? Let’s get started!
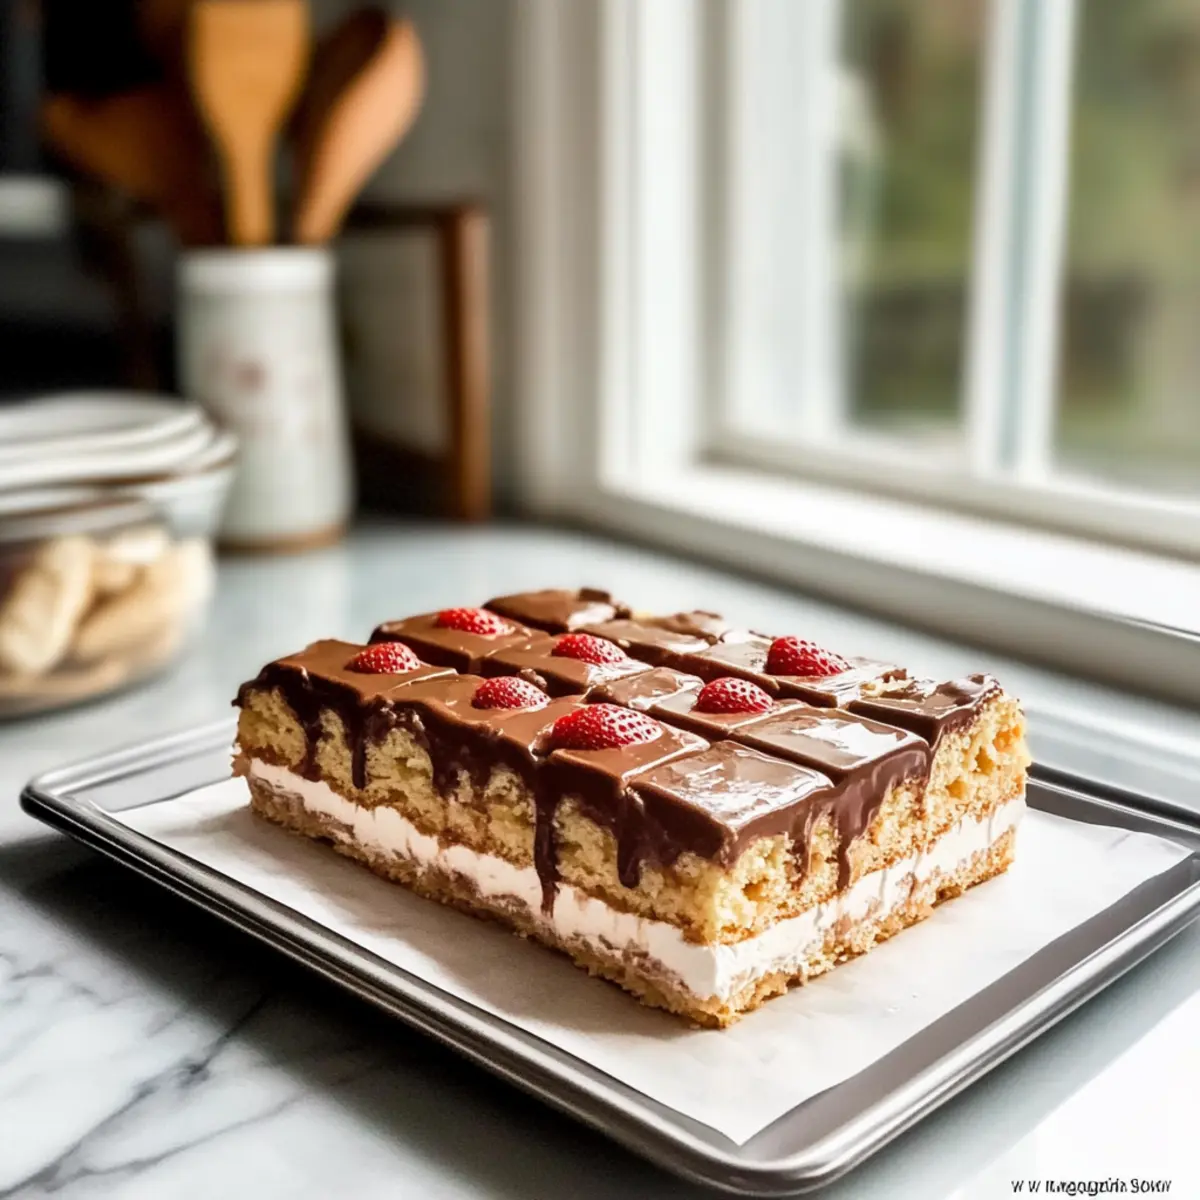
Why Try No-Bake Chocolate Oat Bars?
Simplicity at Its Best: These bars come together in minutes, making them perfect for busy schedules.
Rich, Decadent Flavor: With creamy chocolate and hearty oats, they strike a wonderful balance between indulgent and wholesome.
No-Bake Convenience: They require no oven time, so you can enjoy baking without the heat and hassle.
Crowd-Pleasing Treat: Kids and adults alike can’t resist these charming bars, making them ideal for gatherings or family snacks.
Versatile Ingredients: Feel free to customize by adding nuts, dried fruit, or even a drizzle of caramel for a unique twist!
Imagine pairing them with a refreshing iced tea or serving them alongside Cheesecake Stuffed Chocolate cookies for an irresistible dessert spread!
No-Bake Chocolate Oat Bars Ingredients
For the Bars
- Rolled Oats – These hearty oats form the base, providing texture and nutrition.
- Cocoa Powder – Adds rich chocolate flavor; use unsweetened for a deeper taste.
- Nut Butter (Peanut or Almond) – Binds the mixture while offering a nutty taste; substitute with sun butter for a nut-free option.
- Honey or Maple Syrup – Sweetens the bars naturally; feel free to adjust the quantity based on your taste preference.
- Chocolate Chips (Dark or Milk) – Provides extra chocolatey goodness; ensure they’re semi-sweet for a balanced flavor.
For the Toppings
- Chopped Nuts – Adds a delightful crunch and richness; try walnuts or almonds for added flavor.
- Sprinkle of Sea Salt – Enhances the sweet flavors in the bars and adds a gourmet touch.
Feel free to experiment with these no-bake chocolate oat bars ingredients to create your unique twist on a classic recipe!
Step‑by‑Step Instructions for No-Bake Chocolate Oat Bars
Step 1: Prepare the Oat Mixture
In a large mixing bowl, combine 2 cups of rolled oats and ½ cup of unsweetened cocoa powder. Stir gently to ensure the oats are evenly coated with cocoa. This will create the rich base for your no-bake chocolate oat bars. Set aside for a moment while you gather your wet ingredients.
Step 2: Mix the Wet Ingredients
In a separate bowl, blend ½ cup of nut butter (peanut or almond) with ⅓ cup of honey or maple syrup. Mix thoroughly with a whisk for about 1-2 minutes until smooth and well-combined. This mixture will help bind everything together, adding sweetness and creaminess to your no-bake chocolate oat bars.
Step 3: Combine the Mixtures
Pour the wet mixture into the dry oat and cocoa mixture. Using a spatula, fold the ingredients together until everything is evenly incorporated. The mixture should be thick and sticky. If needed, use your hands to ensure all oats are coated. This creates a wonderful foundation for your bars, packed with flavor.
Step 4: Add Chocolate Chips
Stir in ½ cup of chocolate chips, evenly distributing them throughout the mixture. This adds delightful bursts of chocolate in each bite. Once fully incorporated, pour the mixture into a lined 8×8-inch baking dish, pressing it firmly down with your fingers to form an even layer. This step is crucial for shaping your no-bake chocolate oat bars.
Step 5: Chill to Set
Cover the baking dish with plastic wrap and refrigerate for at least 30 minutes. This chilling time allows the bars to firm up, making them easier to cut later. While they chill, take a moment to admire the rich, chocolatey mixture and anticipate the treat that awaits you!
Step 6: Slice and Serve
Once chilled, remove the dish from the fridge and lift the bars out using the overhanging parchment paper. Place on a cutting board and slice into squares or rectangles, depending on your preference. Serve immediately or store in an airtight container in the fridge for up to a week. Enjoy these delightful no-bake chocolate oat bars with family and friends!
Expert Tips for No-Bake Chocolate Oat Bars
• Quality Ingredients Matter: Use high-quality nut butter and cocoa powder for the best flavor. This elevates your no-bake chocolate oat bars immensely.
• Proper Mixing: Ensure the dry and wet ingredients are thoroughly combined to create a uniform texture. Uneven mixing can lead to crumbly bars.
• Chill Time is Key: Allow the bars to chill for at least 30 minutes. This step helps them firm up, ensuring they hold their shape when sliced.
• Customize to Taste: Feel free to tweak the sweetness level with honey or maple syrup. Start with less and adjust to find your perfect balance for these no-bake chocolate oat bars.
• Use Parchment Paper: Line your baking dish with parchment paper for easy removal. This prevents sticky situations and keeps your bars intact!
Make Ahead Options
These No-Bake Chocolate Oat Bars are perfect for meal prep, allowing you to save time on busy days while still treating your loved ones. You can prepare the oat mixture and press it into the baking dish up to 24 hours in advance; just cover it tightly with plastic wrap and refrigerate to maintain freshness. For the best results, also store your chocolate chips separately and add them just before serving to keep their texture intact. When you’re ready to serve, simply cut the chilled bars into squares and enjoy! You’ll have a delightful homemade treat that’s just as delicious and wonderfully simple whenever you need it.
No-Bake Chocolate Oat Bars Variations
Feel free to let your creativity shine with these variations that will elevate your no-bake chocolate oat bars into something uniquely yours!
-
Nut-Free: Substitute the nut butter with sun butter or pumpkin seed butter for a deliciously nut-free option.
-
Extra Crunch: Mix in chopped nuts like almonds or walnuts for added texture and richness. They bring a delightful crunch that perfectly complements the chewy oats.
-
Dried Fruit: Toss in a handful of dried fruits like cranberries or apricots for a touch of sweetness and fruity flavor. These bits offer a lovely contrast to the chocolate!
-
Protein Boost: Stir in protein powder to the mix for an energizing boost. It’s perfect for those who want a post-workout snack while indulging in sweet flavors.
-
Spiced Delight: Add a teaspoon of cinnamon or a pinch of sea salt to enhance the chocolatey richness and deepen the flavor profile. The spices create a warm, inviting aroma that lingers.
-
Coconut Twist: For a tropical flair, mix in shredded coconut or use coconut oil instead of nut butter. This will add a delightful chewiness and subtle coconut flavor.
-
Chocolate Variations: Experiment with different types of chocolate chips like white chocolate or dark chocolate for varied sweetness levels. Each option brings its own unique character to the bars.
-
Caramel Drizzle: Drizzle homemade or store-bought caramel sauce over the top for an indulgent finish. This sweet touch adds dimension and makes these bars even more irresistible.
Transform these bars into a centerpiece at your next gathering or enjoy them as a comforting snack at home. Pair with a cup of coffee or with scrumptious Dark Chocolate Nut bites for a delightful dessert duo!
What to Serve with No-Bake Chocolate Oat Bars?
Indulging in these decadent treats opens the door to a delightful assortment of pairings that elevate your dessert experience.
- Fresh Fruit Salad: A medley of seasonal fruits adds a refreshing contrast to the rich chocolate, enhancing each bite with vibrancy.
- Vanilla Ice Cream: The creamy, cool ice cream balances the dense, chewy texture of the bars, creating a delightful melt-in-your-mouth moment.
- Iced Coffee: A smooth, chilled coffee brings a comforting wakefulness, perfectly aligning with the indulgence of chocolate oats.
- Dark Chocolate Dipping Sauce: For the ultimate chocolate lover, a warm ganache serves as a luxurious accompaniment, perfect for drizzling over the bars.
- Almond Milk: A glass of frothy almond milk offers a nutty flavor that complements the nut butter in the bars, keeping everything harmonious.
- Greek Yogurt: A dollop of tangy Greek yogurt can cut through the sweetness, providing a creamy texture that blends beautifully with each bite.
- Mint Sprigs: Fresh mint sprigs not only add a pop of color but also infuse a refreshing aroma that brightens the overall experience.
Transform these no-bake chocolate oat bars into a memorable dessert affair by mixing and matching these delightful sides!
Storage Tips for No-Bake Chocolate Oat Bars
Room Temperature: Store in an airtight container at room temperature for up to 3 days if you prefer a softer texture.
Fridge: For optimal freshness, keep your no-bake chocolate oat bars in the refrigerator, where they can last up to 1 week. Make sure they’re in a sealed container to prevent them from drying out.
Freezer: To extend their shelf life, freeze the bars for up to 3 months. Wrap each bar in plastic wrap, then place them in a freezer bag for easy access.
Thawing: When ready to enjoy, thaw in the fridge overnight or at room temperature for about 30 minutes before serving for the best flavor and texture.
No-Bake Chocolate Oat Bars Recipe FAQs
What type of oats should I use for these bars?
I recommend using rolled oats for the best texture and flavor. They absorb moisture well, which helps hold the bars together. Instant oats may not provide the same hearty texture, while steel-cut oats can be too tough for this recipe.
How should I store No-Bake Chocolate Oat Bars?
For optimal freshness, store your no-bake chocolate oat bars in an airtight container in the refrigerator, where they can last for up to 1 week. If you prefer a softer texture, you can keep them at room temperature for up to 3 days. Just make sure to keep them sealed to prevent drying out!
Can I freeze these bars, and if so, how?
Absolutely! You can freeze your no-bake chocolate oat bars for up to 3 months. Wrap each bar tightly in plastic wrap and then place them in a zip-top freezer bag. This will help maintain their flavor and texture. When you’re ready to enjoy them, thaw them in the refrigerator overnight or leave them at room temperature for about 30 minutes.
What should I do if my mixture seems too dry?
If your oat mixture appears too dry, simply add a little more nut butter or honey. Start with a tablespoon at a time and mix thoroughly. The consistency should be thick and sticky but still moldable. Remember, you want all the oats to be nicely coated!
Are there any dietary considerations to keep in mind?
Yes! If you’re serving these bars to kids or individuals with allergies, be sure to check the nut butter you use—some may contain allergens. For nut-free options, consider using sunflower seed butter. Also, if you’re looking for a refined sugar-free option, maple syrup works beautifully as a natural sweetener!
What are some ways to customize my No-Bake Chocolate Oat Bars?
Get creative! You can mix in dried fruits, like cranberries or raisins, for added sweetness and chewiness. For a little crunch, consider adding chopped nuts or seeds. If you’re a chocolate lover, a drizzle of melted chocolate on top can elevate them further. Enjoy experimenting!

Irresistible No-Bake Chocolate Oat Bars You’ll Love to Make
Ingredients
Equipment
Method
- In a large mixing bowl, combine 2 cups of rolled oats and ½ cup of unsweetened cocoa powder. Stir gently to coat the oats evenly.
- In a separate bowl, blend ½ cup of nut butter with ⅓ cup of honey or maple syrup. Mix thoroughly with a whisk for 1-2 minutes until smooth.
- Pour the wet mixture into the oat and cocoa mixture. Fold together until evenly incorporated; the mixture should be thick and sticky.
- Stir in ½ cup of chocolate chips and distribute evenly. Pour into a lined 8x8-inch baking dish and press down firmly.
- Cover with plastic wrap and refrigerate for at least 30 minutes to firm up.
- Remove from fridge, lift out using parchment paper, and slice into squares or rectangles. Serve immediately or store in an airtight container.
Leave a Reply