
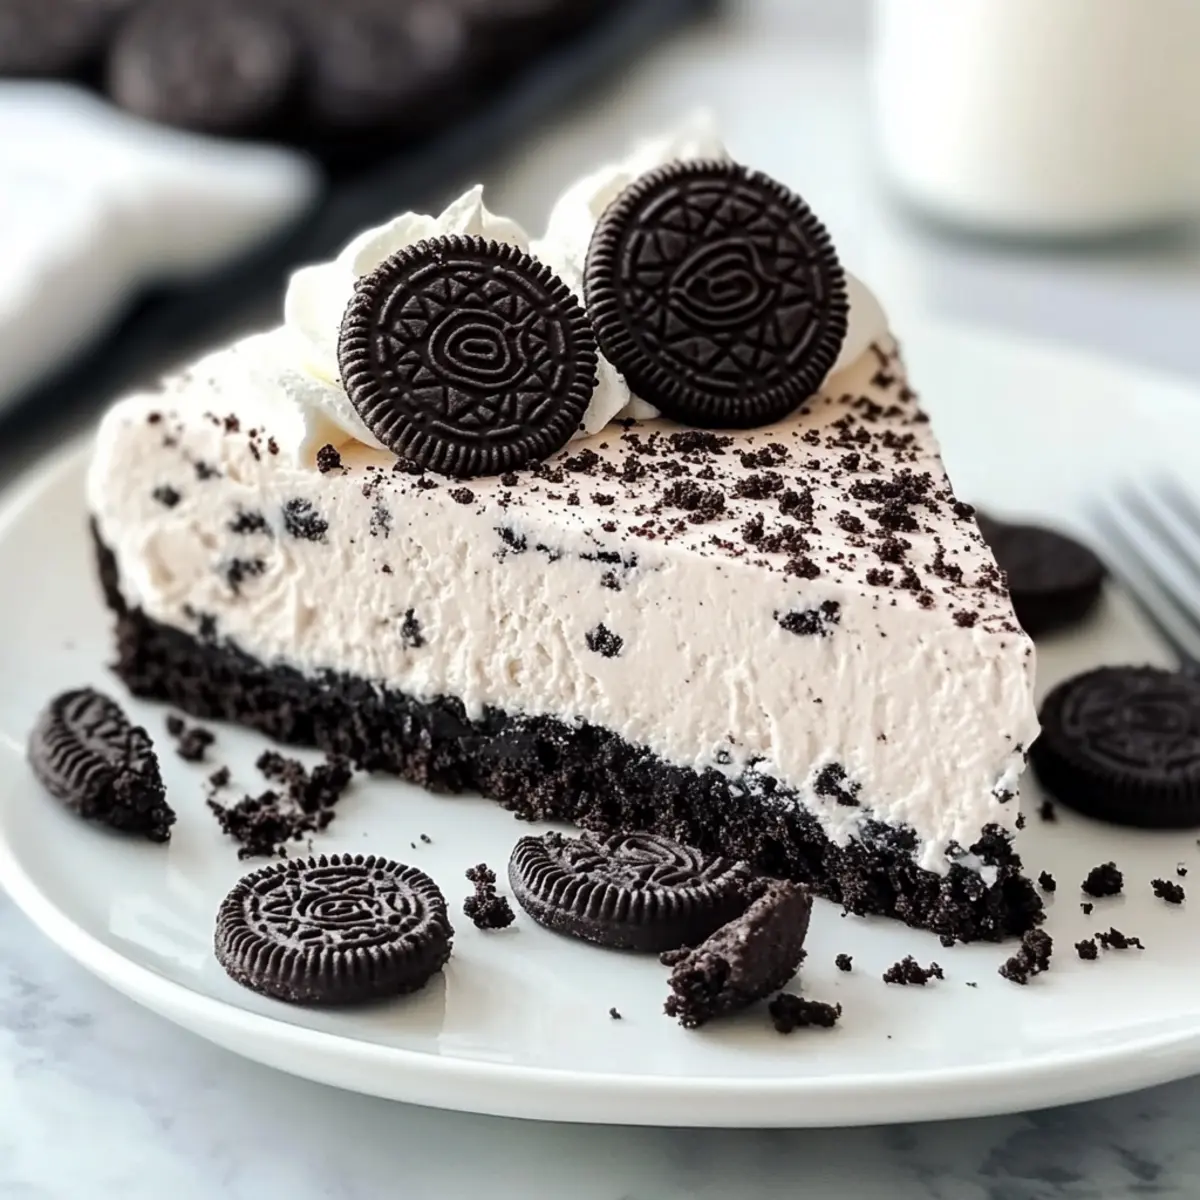
The moment I first tasted a No Bake Oreo Cheesecake Dessert, it was as if a sweet epiphany knocked on my door. This delightful treat combines the rich creaminess of cheesecake with the nostalgic crunch of Oreo cookies, creating a dessert that’s both easy to make and irresistible to eat. If you’re seeking a quick preparation method that delivers a crowd-pleasing indulgence without the baking hassle, you’re in the right place! Not only is this dessert a fantastic option for last-minute gatherings, but it also allows you to experiment with different cookie flavors for a fun twist. Whether you stick with the classic Oreo or get adventurous with chocolate chip or peanut butter, each version is bound to elicit smiles. Ready to dive into a world of creamy goodness? Let’s get started!
Why Choose No-Bake Oreo Cheesecake Bars?
Effortless Indulgence: This recipe combines simplicity with deliciousness, offering a quick dessert option that anyone can master.
No Baking Required: Perfect for busy days, you can whip this up in no time without the hassle of preheating your oven.
Versatile Options: While Oreo cookies shine in this recipe, feel free to explore variations with chocolate chip or peanut butter cookies for your unique twist.
Crowd-Pleasing Delight: Whether for a family gathering or a cozy night in, this dessert is sure to impress both kids and adults alike.
Chill and Serve: Easy to make ahead of time, just let it chill in the fridge and serve when you’re ready. Pair it with a drizzle of chocolate sauce for that extra flair! For more delicious dessert ideas, check out my Pumpkin Cheesecake Truffles or Caramel Brownie Cheesecake.
No-Bake Oreo Cheesecake Bars Ingredients
For the Crust
- Oreo Cookies – These provide the perfect chocolatey base; crushed for a delightful crunch.
- Butter – Unsalted is recommended for better flavor control, binding the crust together.
For the Filling
- Cream Cheese – Softened to room temperature, it creates a rich and creamy filling that’s essential for the cheesecake experience.
- Sugar – Adds that necessary sweetness, but feel free to adjust based on your taste preference.
- Whipped Topping – Lightens the filling and makes it fluffy; can be swapped with homemade whipped cream for a fresher taste.
- Additional Oreo Cookies – Folded into the filling to amplify that iconic cookie flavor throughout the cheesecake.
Remember, these No-Bake Oreo Cheesecake Bars are not only straightforward to prepare but also adaptable for flavor innovations!
Step‑by‑Step Instructions for No-Bake Oreo Cheesecake Bars
Step 1: Prepare the Crust
Begin by crushing the Oreo cookies into fine crumbs using a food processor or a rolling pin. In a separate bowl, melt the unsalted butter and combine it with the crushed cookies, mixing until they resemble wet sand. Press this mixture firmly into the bottom of a lined 9×13-inch baking dish to form a solid crust. Chill in the refrigerator for at least 30 minutes to set.
Step 2: Make the Filling
While the crust sets, take out softened cream cheese and beat it with sugar in a large mixing bowl until smooth and creamy, about 2-3 minutes with an electric mixer. Ensure there are no lumps remaining, as a smooth mixture is essential for the No-Bake Oreo Cheesecake Bars. This creamy mixture will form the luscious base of your dessert.
Step 3: Incorporate Whipped Topping
Next, gently fold in the whipped topping into the cream cheese mixture, using a spatula to maintain the light and airy texture. Stir carefully until the mixture is well combined and fluffy, taking care not to deflate it. This step is key to achieving that delightful cheesecake consistency without any baking.
Step 4: Add More Oreos
For an extra burst of flavor, fold in additional crushed Oreo cookies into the cheese mixture. This will enhance the cookie flavor throughout your No-Bake Oreo Cheesecake Bars. Mix until evenly dispersed, allowing bits of Oreo to add texture and visual appeal to your filling.
Step 5: Assemble the Cheesecake Bars
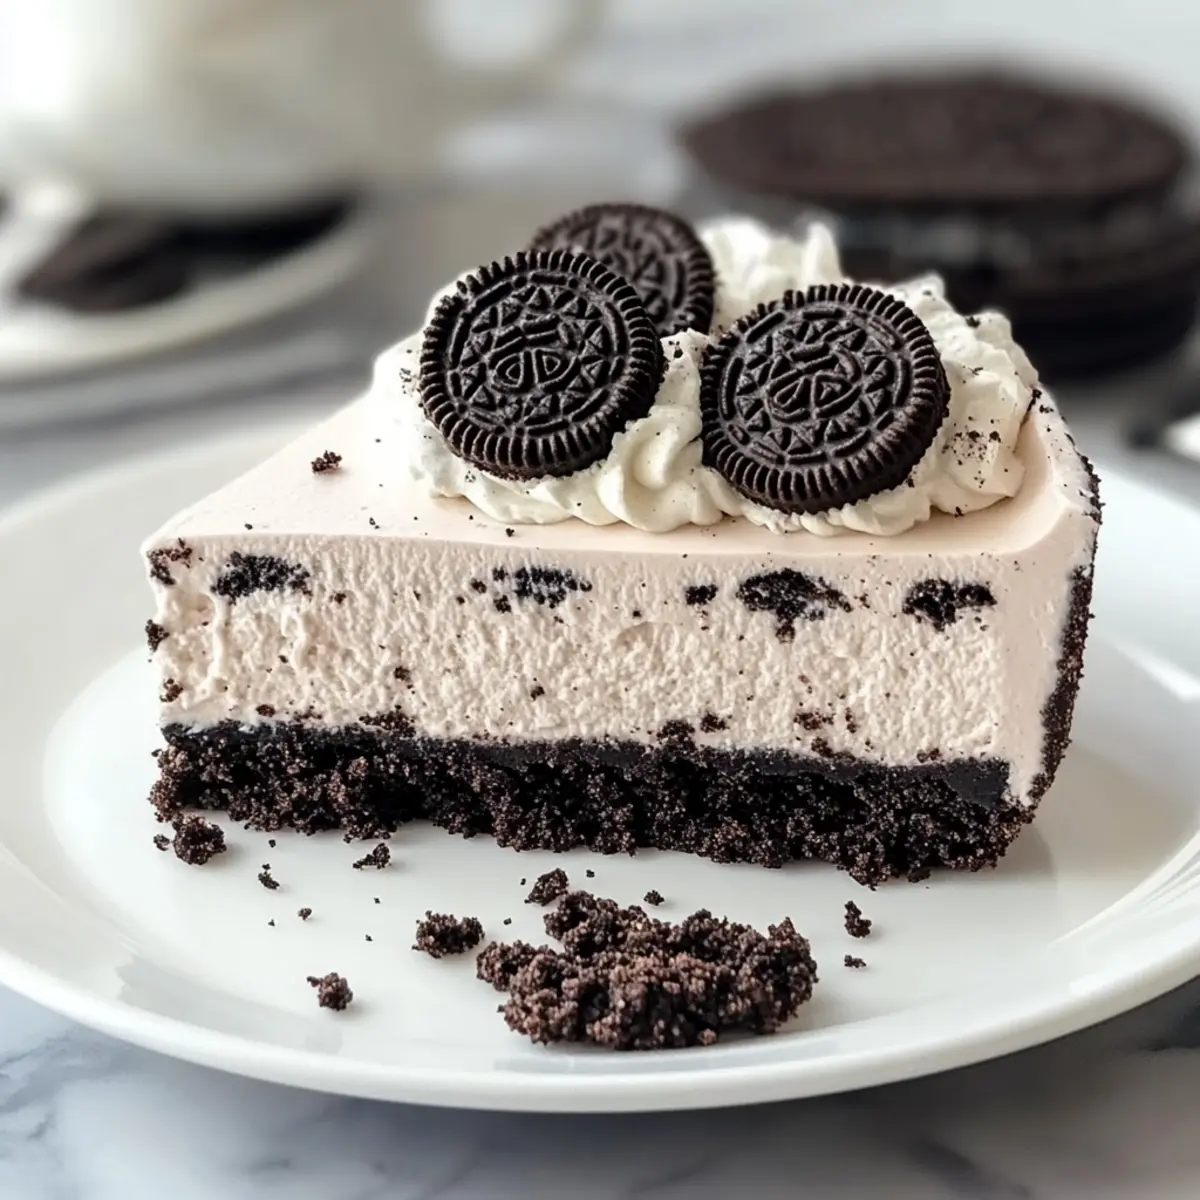
Once your crust has set, pour the creamy filling over it, smoothing the top with a spatula. This is your moment to create a beautiful layer that will stand out once sliced. Make sure the filling evenly covers the crust, reaching all corners for a perfect presentation.
Step 6: Chill to Set
Cover the assembled bars tightly with plastic wrap and refrigerate for at least 4 hours, or overnight for the best results. This chilling time allows the No-Bake Oreo Cheesecake Bars to firm up properly, helping them hold their shape when you slice into them later.
Step 7: Slice and Serve
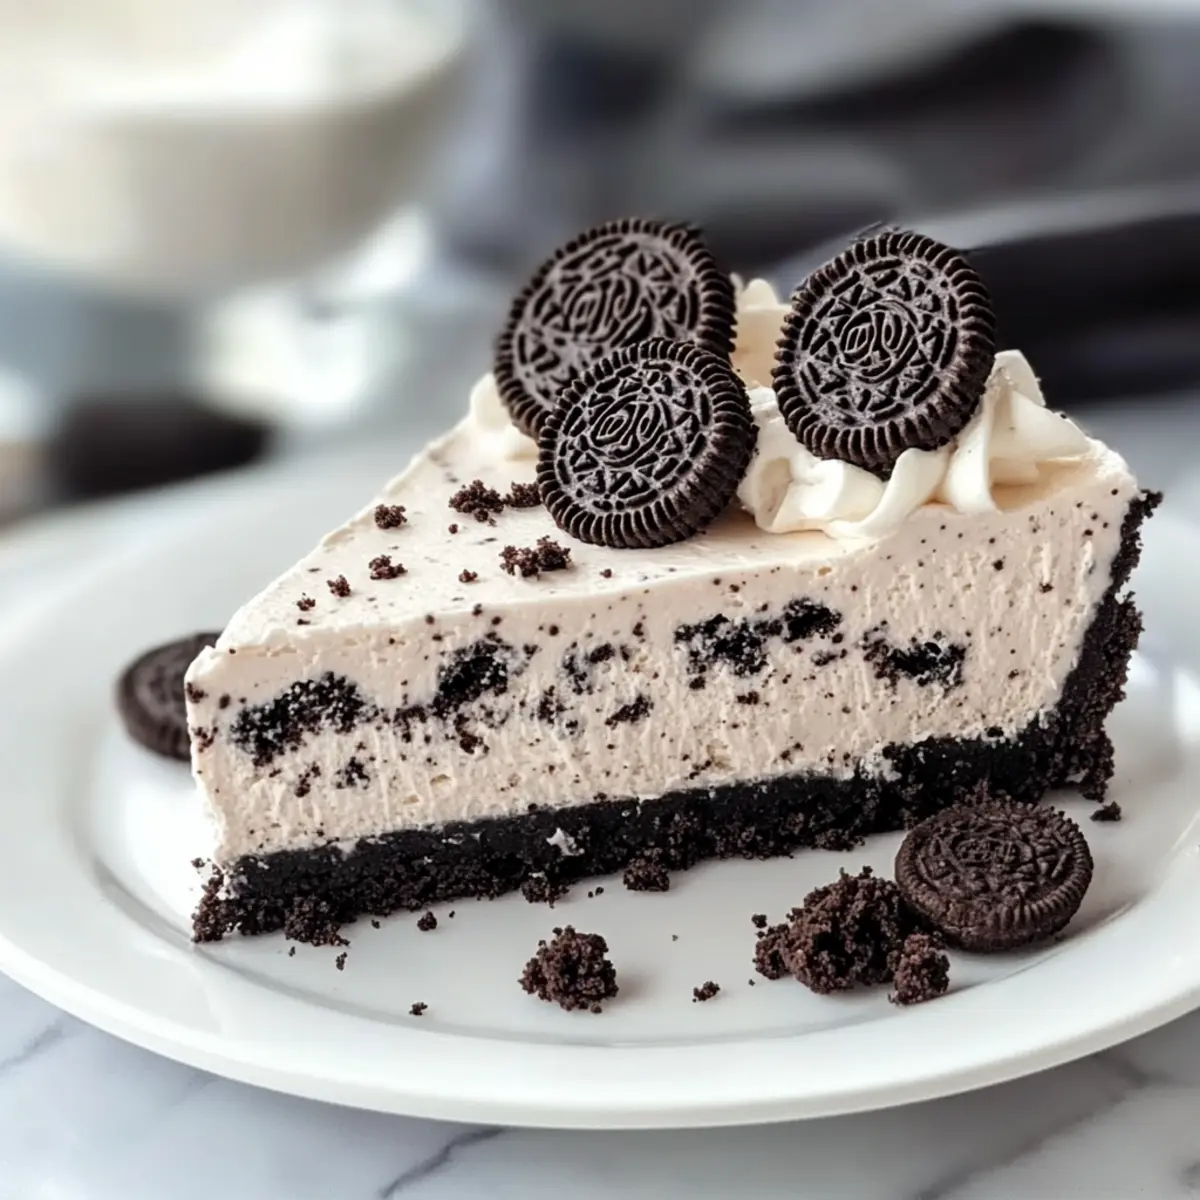
After chilling, remove the dish from the refrigerator and slice into generous squares. Garnish with additional crushed Oreo cookies or fresh fruit if you like. Serve chilled and enjoy the creamy texture of your No-Bake Oreo Cheesecake Bars with friends and family!
Expert Tips for No-Bake Oreo Cheesecake Bars
• Chill for Best Results: Allow your dessert to chill for at least 4 hours, or overnight if possible, to achieve the perfect texture and set properly.
• Smooth Mixture: When beating cream cheese, ensure it’s well-softened to avoid lumps, which will help create a creamy filling that perfectly complements the crust.
• Gentle Folding: When incorporating whipped topping, fold gently to maintain its lightness; this is crucial for achieving the airy texture of the No-Bake Oreo Cheesecake Bars.
• Press Firmly: Make sure you press the crust firmly into the baking dish; a well-packed crust ensures easy slicing without crumbling.
• Flavor Boost: Enhance the filling with a splash of vanilla extract or a pinch of salt to elevate the sweet flavors, complementing the richness of the cream cheese.
• Experiment Freely: Don’t hesitate to switch up the cookie flavors! Substituting Oreos with chocolate chip or peanut butter cookies can bring new life to this classic dessert.
Storage Tips for No-Bake Oreo Cheesecake Bars
Fridge: Store any uneaten No-Bake Oreo Cheesecake Bars in an airtight container in the refrigerator for up to 5 days. This keeps them fresh and prevents them from absorbing any unwanted odors.
Freezer: For longer storage, wrap the individual slices in plastic wrap and place them in a freezer-safe container. They can be frozen for up to 3 months, making it a great option for future cravings.
Thawing: To enjoy frozen bars, simply transfer them to the fridge for a few hours to thaw. This gentle thawing helps preserve their creamy texture.
Serving Tips: Serve chilled from the fridge; if you prefer, add a drizzle of chocolate sauce or top with additional crushed Oreos for enhanced presentation and flavor!
Make Ahead Options
These No-Bake Oreo Cheesecake Bars are ideal for meal prep, making them a lifesaver for busy weeknights! You can prepare the crust and filling up to 24 hours in advance. To do this, simply crush the Oreo cookies and mix them with butter, then press into your baking dish. After making the filling with cream cheese and whipped topping, pour it over the crust and cover tightly. When you’re ready to serve, allow them to chill in the refrigerator for about 4 hours or overnight, so they retain their creamy texture. By prepping ahead of time, you’ll save precious moments in the kitchen while still delighting your family with a delicious dessert that’s just as satisfying!
What to Serve with No Bake Oreo Cheesecake Dessert?
Indulging in a slice of this creamy dessert is a heavenly experience, especially when complemented by delightful accompaniments.
-
Fresh Berries: Sweet and tart strawberries or raspberries add a refreshing touch, balancing the richness of the cheesecake.
-
Chocolate Sauce: A drizzle of warm chocolate sauce enhances the dessert’s flavor and elevates the indulgence factor to new heights.
-
Whipped Cream: A dollop of freshly whipped cream adds a light, fluffy contrast to the dense creaminess of each slice.
-
Coffee: Pair with a hot cup of coffee for a delightful contrast. The bitterness of coffee can beautifully offset the sweet, rich flavors.
-
Mint Leaves: For a pop of color and a hint of freshness, garnishing with mint leaves elevates the presentation and adds an aromatic note.
-
Ice Cream: Serve alongside a scoop of vanilla or soft-serve ice cream for an extra creamy texture. The mix of temperatures creates a lovely sensory experience.
Whatever you choose to serve alongside these No-Bake Oreo Cheesecake Bars, each addition will only enhance your well-deserved treat!
No-Bake Oreo Cheesecake Bars Variations
Feel free to customize your No-Bake Oreo Cheesecake Bars to fit your taste and preferences!
-
Chocolate Chip Cookies: Swap out the Oreos for crushed chocolate chip cookies for a sweet, chewy twist on flavor. It’s a delightful change that adds a nostalgic touch.
-
Peanut Butter Cookies: For a rich, nutty flavor, use crushed peanut butter cookies in place of Oreos. The creamy peanut butter complements the cheesecake beautifully!
-
Infused Flavors: Add a splash of coffee or espresso powder to the filling for a mocha-inspired treat. The coffee’s depth enhances the sweetness of the cheesecake!
-
Seasonal Toppings: Top your cheesecake with crushed peppermint candies for a refreshing holiday spin or fresh berries for a summery twist. Seasonal fruits can brighten up each slice!
-
Nutty Crunch: Incorporate chopped nuts into the crust or filling for additional texture. Walnuts or pecans add a lovely crunch and a lovely nutty flavor.
-
Cream Cheese Swaps: For a lighter version, use low-fat cream cheese or Greek yogurt instead. This makes for an equally creamy filling, but with fewer calories!
-
Chocolate Ganache: Drizzle melted chocolate ganache over the chilled bars before serving to elevate the dessert’s richness. This will create a decadent finish that guests will adore.
-
Spicy Kick: If you’re feeling adventurous, mix in a pinch of cinnamon or cayenne pepper for a warm, spicy twist. This unexpected flavor combo makes each bite fascinating!
These variations will keep your No-Bake Oreo Cheesecake Bars exciting and delightful. For more inventive dessert ideas, don’t forget to check out my Salted Caramel Bars and Cheesecake Stuffed Chocolate. Enjoy the creative process!
No-Bake Oreo Cheesecake Bars Recipe FAQs
How do I choose the right Oreos for the crust?
Absolutely! You should use regular-sized Oreos for the crust when making No-Bake Oreo Cheesecake Bars. Ensure the cookies are fresh; look for those without any dark spots or stale texture. If you want to get creative, try different Oreo flavors, like peanut butter or mint, for a fun twist!
What is the best way to store leftovers?
Very! Once you’ve enjoyed your No-Bake Oreo Cheesecake Bars, store any leftovers in an airtight container in the refrigerator for up to 5 days. This keeps them fresh and delicious. If you see moisture buildup or an off smell, it’s best to discard them.
Can I freeze No-Bake Oreo Cheesecake Bars?
Absolutely! For longer-term storage, you can freeze your No-Bake Oreo Cheesecake Bars. Wrap individual slices tightly in plastic wrap, then place them in a freezer-safe container. When properly stored, they can last up to 3 months! When you’re ready to enjoy, simply move them to the fridge for a few hours to thaw.
How can I fix a runny cheesecake filling?
If your filling turns out runny, it might be due to insufficient chilling time or under-mixed ingredients. To fix this, try chilling the bars longer; 8 hours preferably, or even overnight. If you’re still concerned, you might whip in some additional whipped topping or a bit of powdered sugar for a thicker consistency. Gently fold it in to maintain lightness.
Are these No-Bake Oreo Cheesecake Bars safe for pets?
It’s important to be cautious! While cream cheese isn’t toxic to pets, it should be given in moderation. These bars also contain sugar and may not be suitable for your furry friends. Always check with your veterinarian before sharing human food with pets.
What if I have dairy allergies?
If you’re catering to those with dairy allergies, you can make some adjustments! Substitute cream cheese with a dairy-free alternative made from cashews or tofu, and use coconut whipped cream in place of regular whipped topping. Just keep in mind that the flavor and texture might vary slightly, but it’ll still be delicious!

No-Bake Oreo Cheesecake Bars for Effortless Indulgence
Ingredients
Equipment
Method
- Crush Oreo cookies into fine crumbs and mix with melted butter. Press into the bottom of a lined baking dish to form a crust. Chill for at least 30 minutes.
- Beat softened cream cheese with sugar until smooth and creamy in a mixing bowl.
- Fold in whipped topping gently to maintain lightness.
- Fold in additional crushed Oreo cookies for extra flavor.
- Pour filling over chilled crust and smooth the top.
- Cover and refrigerate for at least 4 hours or overnight to set.
- Slice into squares and serve chilled, optionally garnished with crushed Oreos or fruit.
Leave a Reply