
Last week, while prepping for a small gathering, I could feel the energy shift in the kitchen—friends and family were eagerly anticipating something sweet. That’s when I decided to whip up these delightful Oreo Cheesecake Cookie Cups. With their heavenly chocolate cookie base and an airy cheesecake filling, they’re not just easy to make but also perfect for any occasion, be it a cozy get-together or a lively party. Plus, their cute little cups allow for a personalized touch with various toppings, making it a crowd-pleaser every time. Are you ready to indulge in this unique dessert that will have everyone asking for seconds?
Why Are These Cookie Cups a Must-Try?
Deliciously Unique: Your taste buds will rejoice at the delightful combination of chocolate cookie and creamy cheesecake!
Easy to Make: With simple ingredients and straightforward steps, you’ll have these treats baked and ready in no time.
Customizable Options: Whether you prefer classic Oreo crumbs or want to get creative with toppings like fruit or drizzles, there’s a style for everyone!
Perfect for Any Occasion: From casual hangouts to festive gatherings, these cookie cups fit right in, impressing guests with their adorable presentation and divine flavor.
Make-Ahead Convenience: Prepare these delightful desserts in advance and fill them right before serving for maximum freshness! You might also love our Cauldron Cookie Cups or Pumpkin Cheesecake Truffles for some more sweet inspirations!
Oreo Cheesecake Cookie Cups Ingredients
For the Cookie Cups
- All-Purpose Flour – Provides structure to the cookie base; substitute with gluten-free flour for a gluten-free version.
- Dutch-Processed Cocoa Powder – Adds depth of flavor and color; can be swapped with regular cocoa powder, though the taste will differ slightly.
- Black Cocoa Powder – Enhances the chocolate flavor for an extra dark color; if unavailable, use more Dutch-processed cocoa.
- Baking Soda – Helps the dough rise during baking; essential for texture.
- Salt – Balances sweetness and enhances overall flavor; don’t skip this for a rich experience.
- Unsalted Butter – Contributes richness and moisture; make sure it’s at room temperature for easy mixing.
- Granulated Sugar – Sweetens the cookie dough, giving a slight crunch; adjust to your taste.
- Light Brown Sugar – Adds moisture with a hint of caramel flavor; brings warmth to the cookies.
- Eggs – Binds everything together for structure; use room temperature eggs for better incorporation.
- Vanilla Extract – Enhances the flavor profile; a splash goes a long way in creating depth.
For the Cheesecake Filling
- Heavy Whipping Cream – Whipped for a light, airy texture; remember to chill before whipping.
- Full-Fat Cream Cheese – Creates a rich cheesecake filling; ensure it’s softened to blend easily.
- Granulated Sugar (for filling) – Sweetens the cheesecake mixture; adjust according to preference.
- Oreo Cookie Crumbs – Infuses the signature Oreo flavor into the filling; use extra for topping or mixing in for crunch.
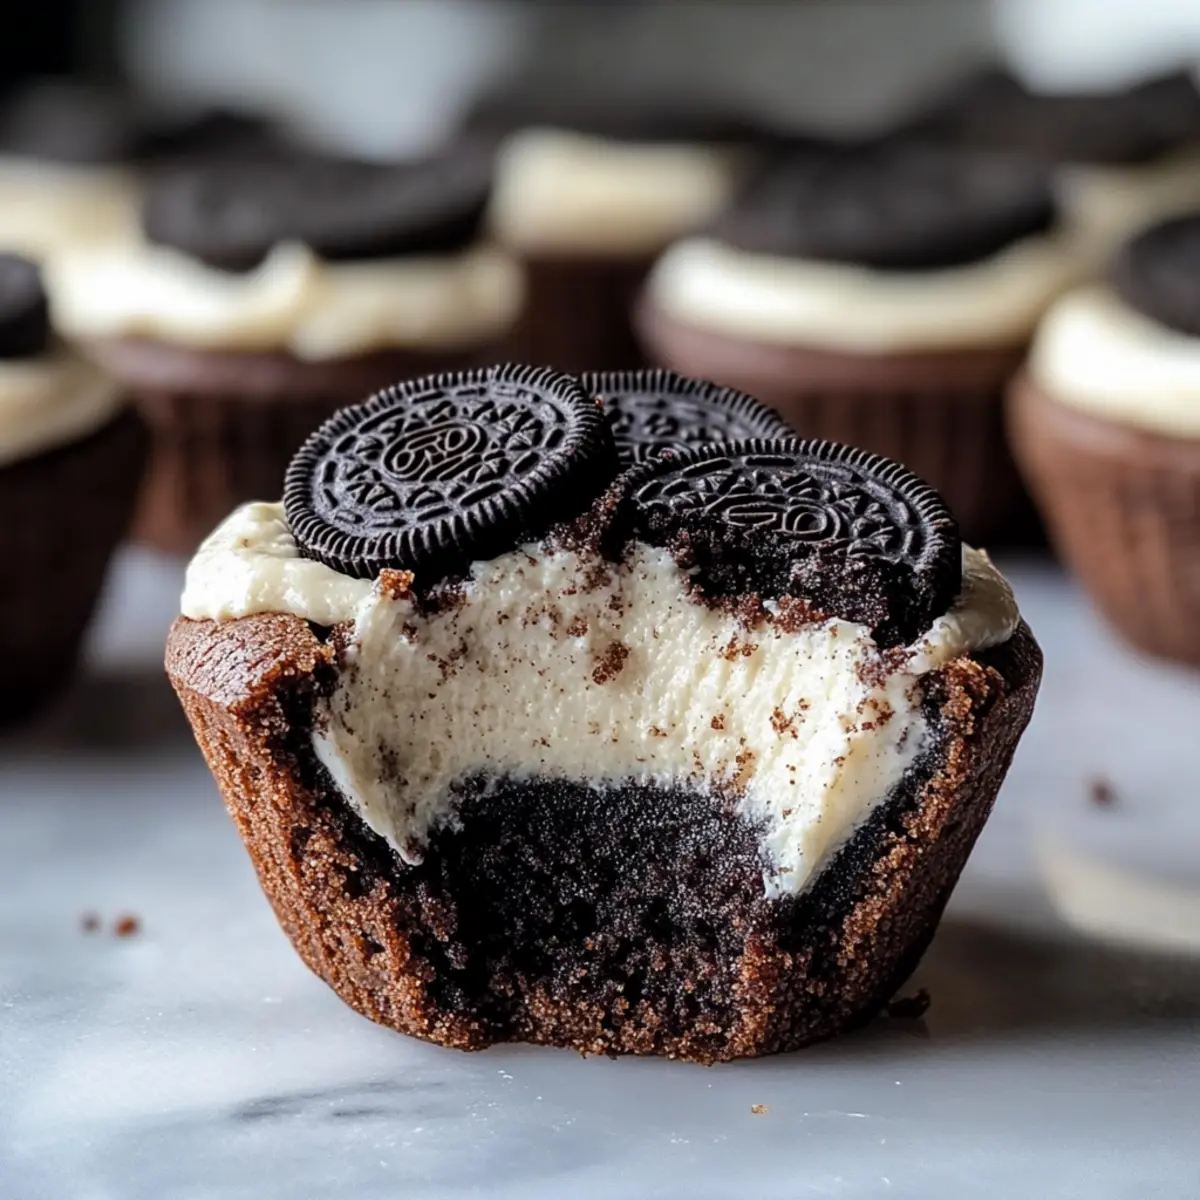
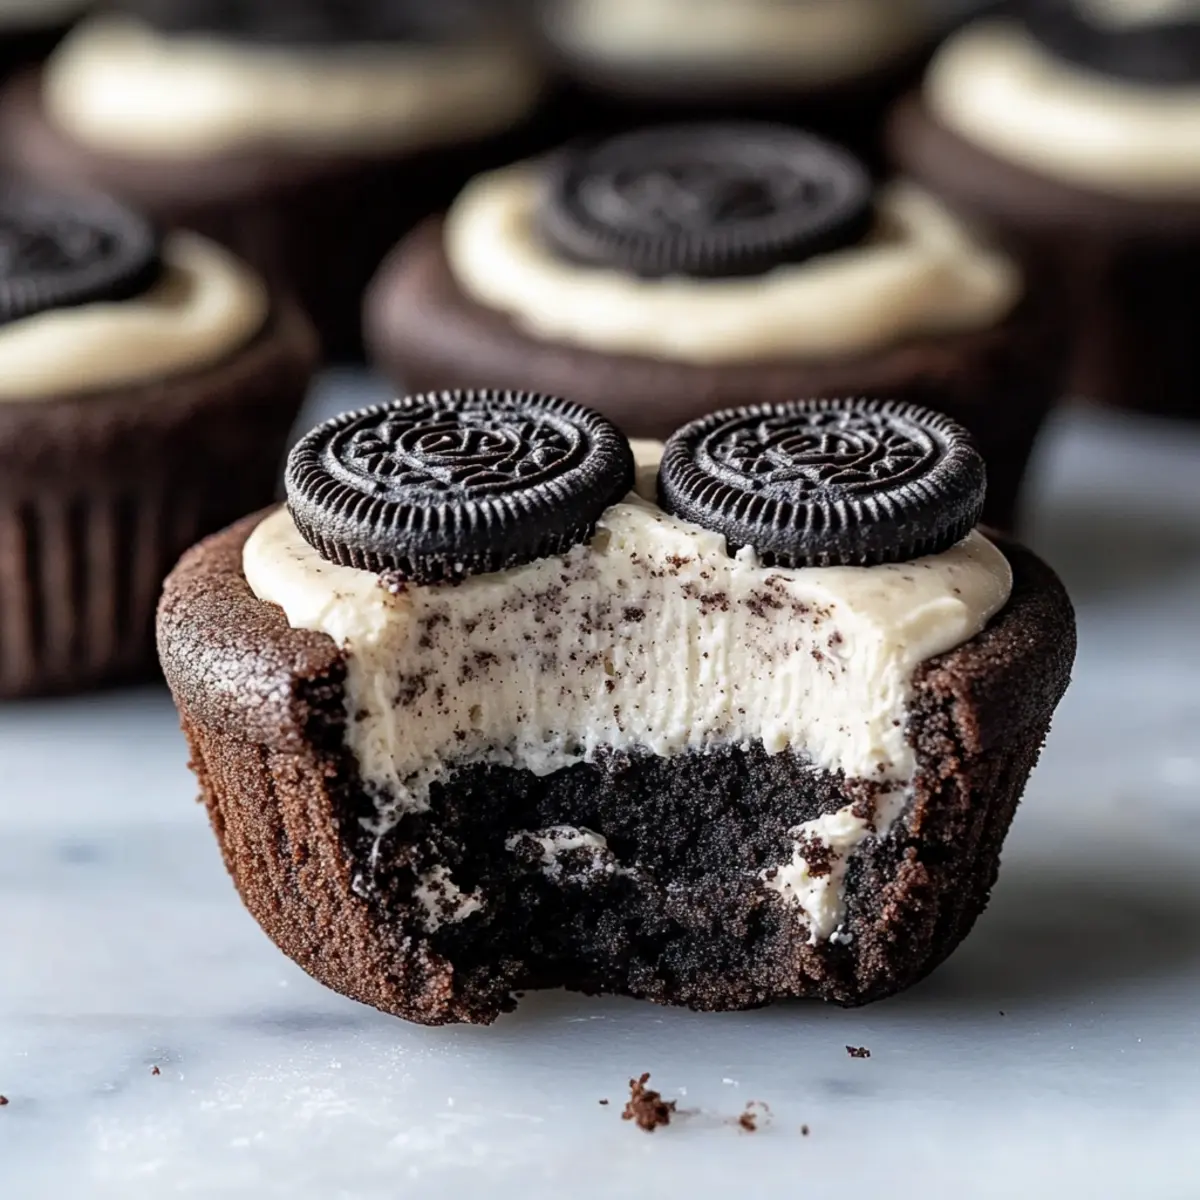
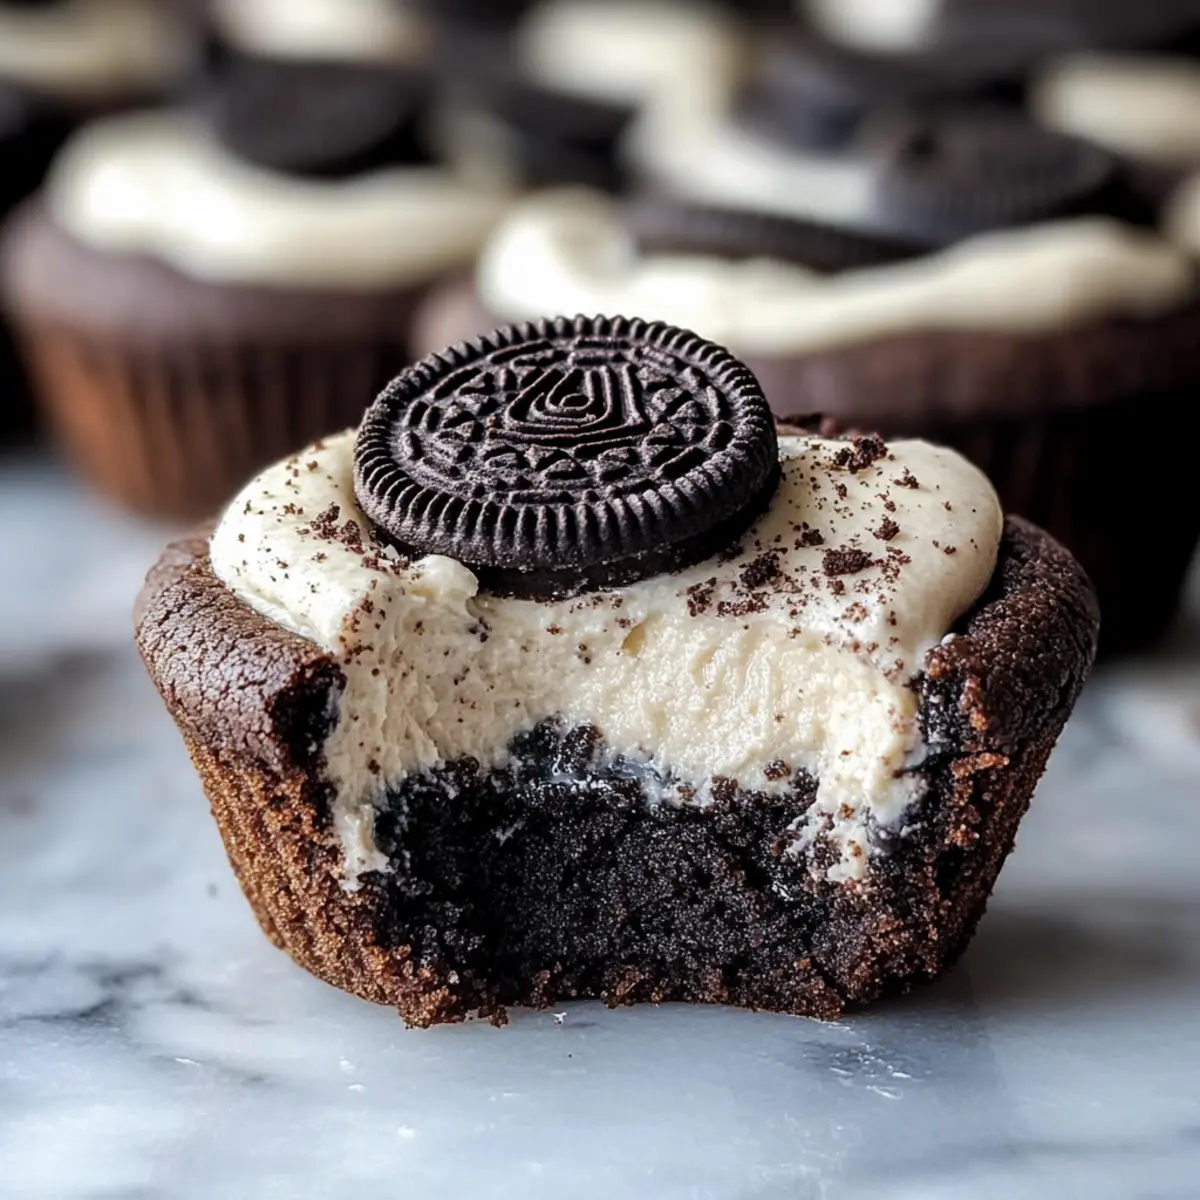
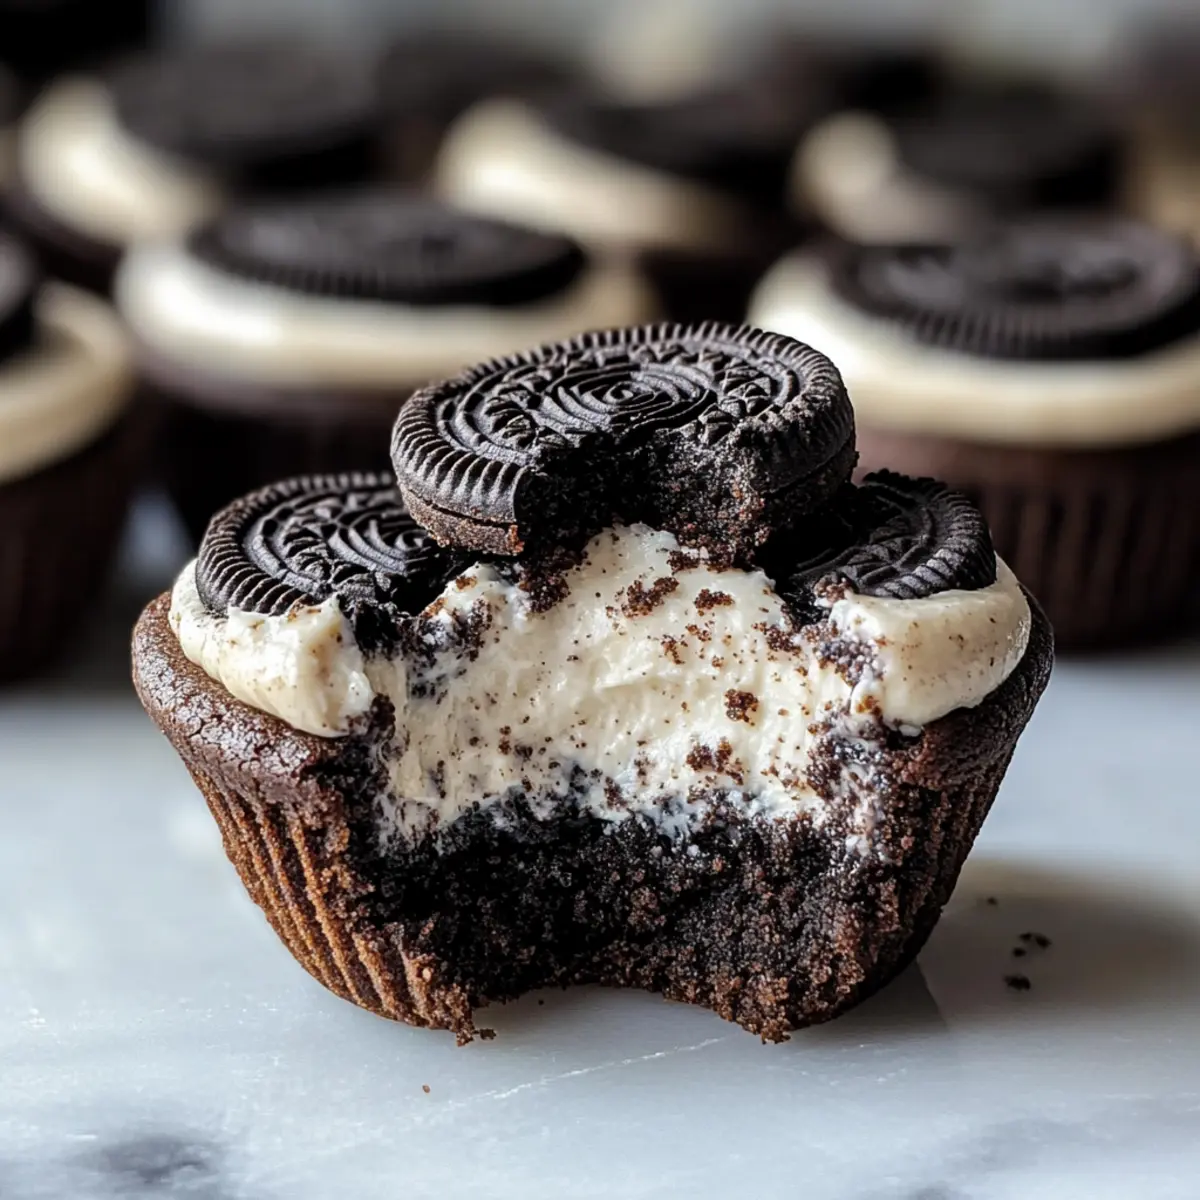
These Oreo Cheesecake Cookie Cups are a hit at any gathering!
Step‑by‑Step Instructions for Oreo Cheesecake Cookie Cups
Step 1: Preheat and Prepare
Start your delicious journey by preheating your oven to 350°F (175°C) and grease two standard muffin tins with cooking spray or butter. This ensures that your Oreo Cheesecake Cookie Cups will easily release after baking. Gather all your ingredients and equipment, including mixing bowls and a stand mixer, for a smooth cooking experience.
Step 2: Mix Dry Ingredients
In a medium bowl, whisk together the all-purpose flour, Dutch-processed cocoa powder, black cocoa powder, baking soda, and salt until well combined. This step is crucial for your cookie cups, ensuring an evenly flavored and textured base. Set this bowl aside while you move on to the wet ingredients, so everything is prepped and ready to go.
Step 3: Cream the Butter and Sugars
In your stand mixer, combine the room-temperature unsalted butter with the granulated sugar and light brown sugar. Beat on medium speed for about 3-5 minutes until the mixture is light and fluffy—this is essential for that melt-in-your-mouth texture. Next, add the eggs (also at room temperature) and vanilla extract, mixing well until fully incorporated and smooth.
Step 4: Combine Dry and Wet Ingredients
Gradually add the whisked dry ingredients into the butter mixture, mixing on low speed until just combined. Be careful not to overmix, as this can lead to tough cookie cups. At this point, your dough will start to come together beautifully, showcasing the rich chocolate color.
Step 5: Shape and Bake Cookie Cups
Using a cookie scoop, evenly distribute the dough into the prepared muffin tins, pressing it down gently to create a well in the center. Bake in the preheated oven for 10-13 minutes, until the edges are set and the centers are still slightly soft. Let the cookie cups cool in the pans for a few minutes before transferring them to a wire rack to cool completely.
Step 6: Prepare the Cheesecake Filling
In a separate bowl, whip the chilled heavy whipping cream using an electric mixer until stiff peaks form. This step is key to achieving a light and airy texture for your cheesecake filling. In another bowl, beat the softened cream cheese with sugar until smooth and creamy, then gently fold in the whipped cream and Oreo cookie crumbs until fully combined.
Step 7: Fill the Cookie Cups
Once the cookie cups have cooled completely, fill each well generously with the cheesecake mixture. Use a spatula or piping bag for a neat finish, ensuring each cup is filled to the top for that delightful Oreo Cheesecake Cookie Cups experience.
Step 8: Chill and Serve
After filling the cups, chill them in the refrigerator for 1-2 hours to allow the flavors to meld and the filling to set. This final step enhances the creamy texture of your cheesecake filling. When ready to serve, consider adding a sprinkle of Oreo crumbs or a dollop of whipped cream on top for an extra special touch!
Expert Tips for Oreo Cheesecake Cookie Cups
-
Check Oven Temperature: Use an oven thermometer to ensure your oven is accurate, as inconsistent temperatures can lead to unevenly baked cookie cups.
-
Room Temperature Ingredients: Make sure your butter and eggs are at room temperature to achieve a smooth batter, preventing dense or heavy cookie cups.
-
Avoid Overmixing: Gently mix the dry ingredients into the wet until just combined to keep your Oreo Cheesecake Cookie Cups soft and tender.
-
Chill Properly: Allow the filled cookie cups to chill for at least 1-2 hours; this helps the filling set properly and enhances the flavor.
-
Customize Toppings: Get creative with toppings by adding fresh berries or caramel drizzle; this personalized touch elevates your Oreo Cheesecake Cookie Cups!
-
Prep Ahead: Consider making the cookie cups and filling in advance, assembling just before serving for a stress-free dessert experience.
Make Ahead Options
These Oreo Cheesecake Cookie Cups are a true dream for busy home cooks looking to save time! You can prepare the cookie cups up to 24 hours in advance—simply bake, cool, and store them in an airtight container at room temperature. The cheesecake filling can be made up to 3 days ahead; just whip together the cream and cream cheese mixture, cover, and refrigerate. To maintain the delightful texture and flavor, keep the filling separate until you’re ready to fill the cookie cups. When it’s time to serve, simply fill the cooled cookie bases with the filling and chill for about 1-2 hours. This way, you’ll enjoy fresh and creamy treats with minimal fuss!
Oreo Cheesecake Cookie Cups Variations
Feel free to unleash your creativity with these sweet treats and tailor them to every palate!
-
Gluten-Free: Substitute all-purpose flour with a gluten-free flour blend for everyone to enjoy without worries. Your guests will never guess they’re gluten-free!
-
Chocolate Lovers: Use chocolate sandwich cookies instead of Oreos to take the chocolate flavor up a notch. The result is an even richer dessert that will delight all chocolate enthusiasts.
-
Fruity Delight: Top your cookie cups with fresh strawberries or raspberries for a pop of color and a refreshing twist. The fruity tang will beautifully complement the creamy filling!
-
Nutty Crunch: For a delightful texture variation, sprinkle chopped nuts such as pecans or almonds on top of the filling. This crunchy topping adds a delightful surprise in each bite!
-
Minty Freshness: Add a few drops of mint extract to the cheesecake filling for a refreshing minty version. Top with crushed peppermint candies for a seasonal treat that feels festive year-round!
-
Spicy Kick: Mix in a pinch of cayenne pepper or chili powder in the cheesecake filling for a surprising twist that plays with sweet and spicy flavors. This adventurous touch will leave taste buds tingling!
-
Flavored Whipped Cream: Change things up by whipping your heavy cream with flavored syrup, like caramel or hazelnut, for a decadent topping. Drizzle some chocolate sauce on top to make it even more indulgent.
-
Zesty Citrus: Incorporate lemon or orange zest in the cheesecake filling for a bright, citrusy flavor. It adds a refreshing zing that balances the richness of the chocolate perfectly.
Want to keep the sweetness rolling? You might also enjoy our Cheesecake Stuffed Cookies or peek at these delightful Pumpkin Cheesecake Truffles for a change!
What to Serve with Oreo Cheesecake Cookie Cups?
These delightful treats are perfect for elevating any gathering or satisfying a sweet craving after a lovely dinner.
-
Fresh Berries: Juicy strawberries, blueberries, or raspberries offer a refreshing contrast to the rich cheesecake. Their tartness beautifully balances the sweetness of the cookie cups.
-
Chocolate Drizzle: A simple melted chocolate drizzle can add an extra layer of indulgence. This rich addition visually enhances your dessert while amplifying its chocolate flavor.
-
Whipped Cream: Light and fluffy whipped cream adds a textural contrast and makes each bite feel even more decadent. Consider flavoring the cream with a hint of vanilla for extra flair.
-
Vanilla Ice Cream: The classic pairing of warm chocolate and cold ice cream is hard to resist. A scoop of creamy vanilla ice cream alongside your cookie cups brings a delightful temperature contrast to your dessert.
-
Coffee or Espresso: A strong cup of coffee or a shot of espresso perfectly complements the rich flavors of the Oreo Cheesecake Cookie Cups. The bitterness cuts through the sweetness, making for a professional-end dessert experience.
-
Caramel Sauce: Drizzling homemade or store-bought caramel sauce over your cookie cups adds a lovely sweetness and an enticing sticky texture. It turns each bites into a gooey delight everyone will enjoy.
-
Milkshake: Serve an Oreo milkshake on the side for a fun, decadent twist. This pairing not only matches the cookie flavor but also doubles the pleasure!
Each of these additions enhances the experience of enjoying Oreo Cheesecake Cookie Cups, turning an indulgent treat into a memorable dessert feast!
How to Store and Freeze Oreo Cheesecake Cookie Cups
Fridge: Keep your Oreo Cheesecake Cookie Cups in an airtight container in the refrigerator for up to 3 days. This helps maintain their creamy texture and ensures they’re always ready for snacking!
Freezer: For longer storage, freeze the cookie cups in an airtight container for up to 1 month. Simply thaw overnight in the fridge before serving, so they stay soft and delicious.
Reheating: If you’d like to enjoy them warm, place the frozen cookie cups in the microwave for about 10-15 seconds on low power. Enjoy the delightful melding of flavors all over again!
Make-Ahead Tip: Prepare the cookie cups in advance and fill them with cheesecake just before serving. This way, you can savor that fresh-and-frosty taste whenever you’re ready to indulge!
Oreo Cheesecake Cookie Cups Recipe FAQs
How do I choose ripe ingredients for Oreo Cheesecake Cookie Cups?
Absolutely! For the best results, ensure your cream cheese is at room temperature; this makes it easier to blend smoothly into the filling. Also, opt for fresh eggs at room temperature to enhance the batter’s texture. While Oreo cookies are already prepared, check for any that might be stale and choose the crispiest ones for the perfect crunch.
What are the best storage methods for Oreo Cheesecake Cookie Cups?
I recommend storing your Oreo Cheesecake Cookie Cups in an airtight container in the refrigerator. They will stay fresh for up to 3 days. This method preserves their creamy texture, so you can reach for a delicious treat anytime! Avoid letting them sit out at room temperature for long to maintain quality.
Can I freeze cookie cups, and how do I do it?
Certainly! To freeze your Oreo Cheesecake Cookie Cups, place them in a single layer in an airtight container, separated by parchment paper to prevent sticking. They can be frozen for up to 1 month. When you’re ready to enjoy them, just thaw them in the refrigerator overnight, and they will taste as delightful as fresh!
Why didn’t my cookie cups rise properly?
Very! If your cookie cups didn’t rise, check that your baking soda is fresh, as expired baking soda can fail to leaven the batter correctly. Also, ensure you mixed the dough just until combined; overmixing can lead to denser cookies. Lastly, baking them too long could cause them to set without rising, so keep an eye on the timer!
Are there any dietary considerations for Oreo Cheesecake Cookie Cups?
Of course! If you’re making these for guests with dietary restrictions, consider using gluten-free flour for a gluten-free version. Be cautious about allergies to dairy from ingredients like cream cheese and heavy whipping cream. If you’re concerned about sugar, sugar substitutes can be an option in moderation. Always communicate and check with your guests to ensure everyone’s safe and happy!
Oreo Cheesecake Cookie Cups: The Unbeatable Sweet Sensation
Ingredients
Equipment
Method
- Preheat your oven to 350°F (175°C) and grease two muffin tins.
- In a bowl, whisk together the flour, cocoa powders, baking soda, and salt.
- Cream butter, granulated sugar, and brown sugar until fluffy. Add eggs and vanilla, mix well.
- Gradually mix in dry ingredients until just combined.
- Scoop dough into muffin tins, pressing gently in the center. Bake for 10-13 minutes.
- Whip the chilled heavy cream to stiff peaks. Beat cream cheese and sugar until smooth, then fold in whipped cream and cookie crumbs.
- Fill the cooled cookie cups with cheesecake mixture.
- Chill in the refrigerator for 1-2 hours before serving.
Leave a Reply