
As the sweet aroma of freshly baked cookies wafts through my kitchen, I can’t help but feel a spark of joy. Today, I’m thrilled to share my favorite Pink Velvet Cookie recipe—these treats are not only irresistibly soft but also visually stunning! Perfect for any special occasion, from Valentine’s Day to baby showers, their delightful hue and tender texture make every bite a celebration. What’s more, whipping up a batch of these cookies couldn’t be easier, giving you more time to savor the moments that matter. Get ready to impress your friends and family with this charming dessert that’s sure to satisfy even the biggest sweet tooth. Are you curious about how to make these vibrant, scrumptious delights? Let’s dive in!
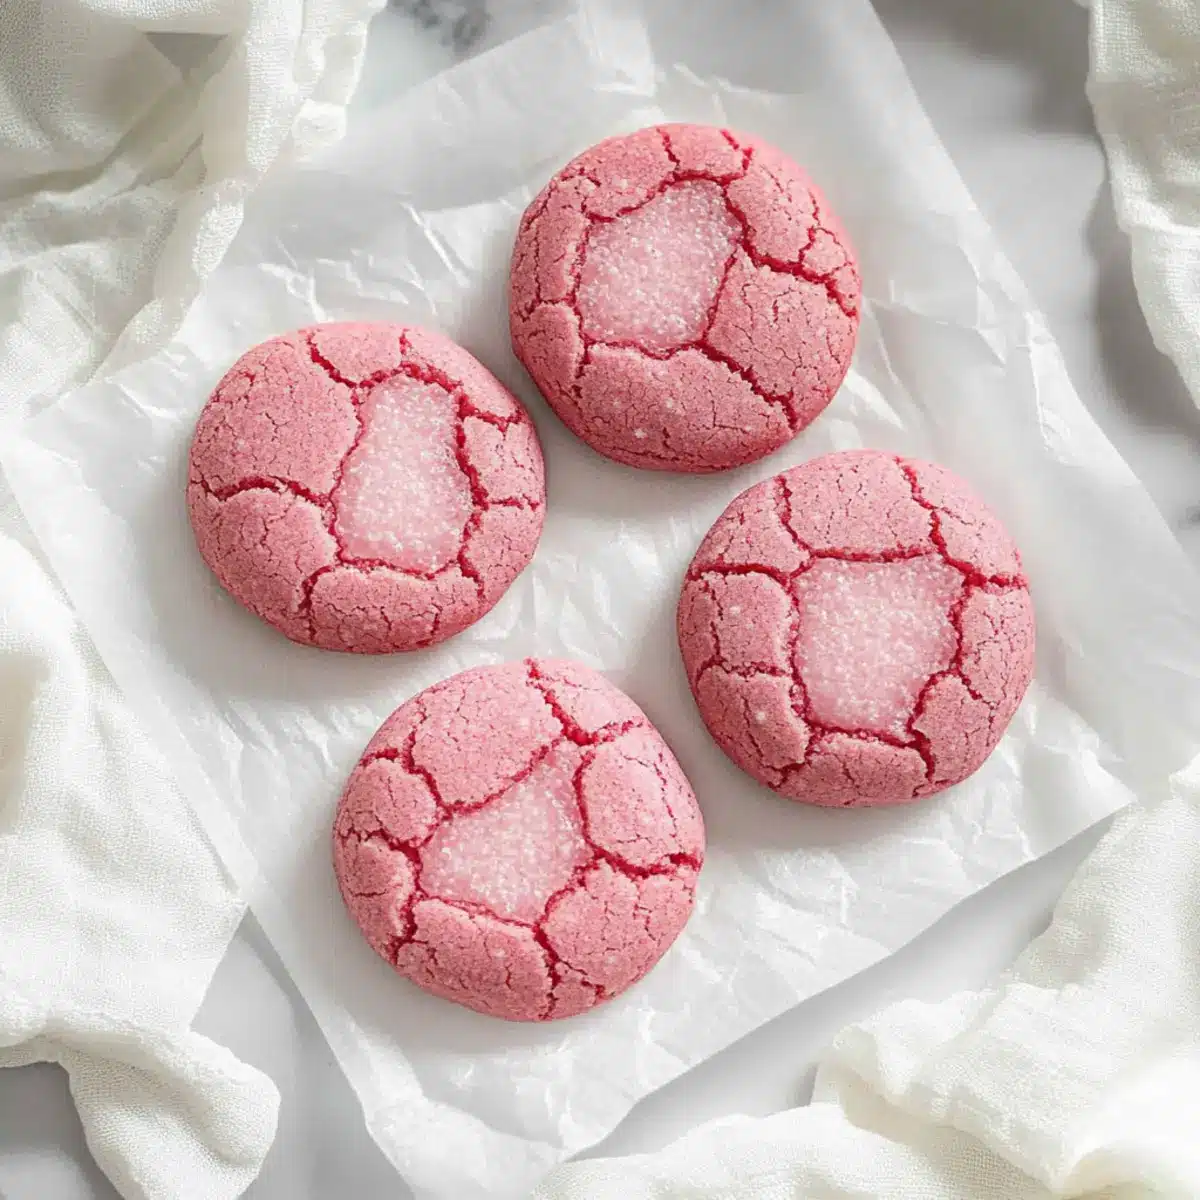
Why Are Pink Velvet Cookies So Irresistible?
Visually Stunning: The vibrant pink hue of these cookies makes them stand out, adding a pop of color to any dessert table.
Ultra-Soft Texture: Each bite is tender and chewy, reminiscent of your favorite sugar cookies but with a delightful twist.
Easy to Make: With simple ingredients and straightforward steps, you can whip up these treats in no time—perfect for any occasion!
Versatile Treat: Whether for a romantic night, a baby shower, or just because, these cookies fit any celebration beautifully. Consider pairing them with a glass of milk or alongside Cheesecake Stuffed Cookies for a delightful dessert spread.
Crowd-Pleasing Flavor: The subtle cocoa and sweetness make them a hit among cookie lovers of all ages, ensuring they’ll be a favorite at your next gathering!
Pink Velvet Cookie Ingredients
For the Dough
- All-Purpose Flour – Provides structure and a soft texture; you can substitute with gluten-free flour for a gluten-free option.
- Unsweetened Cocoa Powder – Adds a mild chocolate flavor without overpowering the pink hue; use Dutch-processed for a deeper flavor.
- Baking Soda – Reacts with acidic ingredients for a light and fluffy texture; ensure it’s fresh for the best results.
- Butter (Softened) – Adds richness and moisture; can substitute with vegan butter for a dairy-free version.
- Granulated Sugar – Provides sweetness and helps with the cookie’s structure; coconut sugar is a less processed alternative.
- Egg – Binds ingredients together and contributes to a chewy texture; for a vegan alternative, use a flax egg (1 tablespoon flaxseed meal mixed with 3 tablespoons water).
- Vanilla Extract – Enhances overall flavor; use pure vanilla for the best taste.
- Red Food Coloring – Gives the signature pink color; you can substitute with beet juice for a natural option.
Optional Toppings
- White Chocolate Chips – Add a creamy sweetness and fun texture; fold them into the dough for extra indulgence.
- Sprinkles – Sprinkle on top before baking for a festive touch; they’ll make the cookies feel even more special!
Step‑by‑Step Instructions for Pink Velvet Cookie
Step 1: Preheat and Prepare
Begin by preheating your oven to 350°F (175°C) to ensure even baking. While the oven warms up, line a baking sheet with parchment paper to prevent sticking and simplify cleanup. This step sets you up for success, ensuring your Pink Velvet Cookies will have the perfect chewy texture when they come out of the oven.
Step 2: Whisk the Dry Ingredients
In a medium bowl, whisk together 2 cups of all-purpose flour, 2 tablespoons of unsweetened cocoa powder, and 1 teaspoon of baking soda. The cocoa powder will add a subtle chocolate flavor while maintaining the bright pink hue. Mix these dry ingredients until they are thoroughly combined, ensuring a uniform distribution which is key to achieving that amazing texture in your cookies.
Step 3: Cream the Butter and Sugar
In a large mixing bowl, use a hand mixer or stand mixer to cream together ½ cup of softened butter and 1 cup of granulated sugar until the mixture is light and fluffy, about 2-3 minutes. The color should lighten and become creamy, indicating that it’s well-aerated. This fluffy mixture is fundamental for creating soft Pink Velvet Cookies, perfect for any occasion.
Step 4: Add Wet Ingredients
Next, add 1 large egg, 1 teaspoon of vanilla extract, and 1 tablespoon of red food coloring to the butter mixture. Mix on medium speed until the ingredients are fully blended and you achieve a rich, vibrant color. The vibrant pink will be the signature of your Pink Velvet Cookies, making them visually stunning as well as delicious.
Step 5: Combine Dry and Wet Ingredients
Gradually incorporate the dry mixture into the wet ingredients, mixing on low speed until just combined. You want to avoid over-mixing, which could result in tough cookies. Stop mixing once you can no longer see dry flour, allowing the dough to maintain its tender, soft texture that makes these cookies a treat.
Step 6: Scoop and Shape the Dough
Using a cookie scoop or tablespoon, portion out the dough onto the prepared baking sheet, spacing them about 2 inches apart. This spacing allows the Pink Velvet Cookies to spread slightly as they bake, ensuring they have room to develop their lovely shape. The vibrant pink dough should look enticing, ready to transform in the oven.
Step 7: Bake the Cookies
Place the baking sheet in the preheated oven and bake for 10-12 minutes. You’ll know they are done when the edges are set but the centers look slightly soft. This is essential for that chewy, melt-in-your-mouth experience characteristic of fabulous Pink Velvet Cookies.
Step 8: Cool the Cookies
Once baked, remove the cookies from the oven and let them cool on the baking sheet for about 5 minutes. This allows them to firm up slightly before transferring them to a wire rack. After cooling completely, you can enjoy the delightful appearance and taste of your homemade Pink Velvet Cookies!
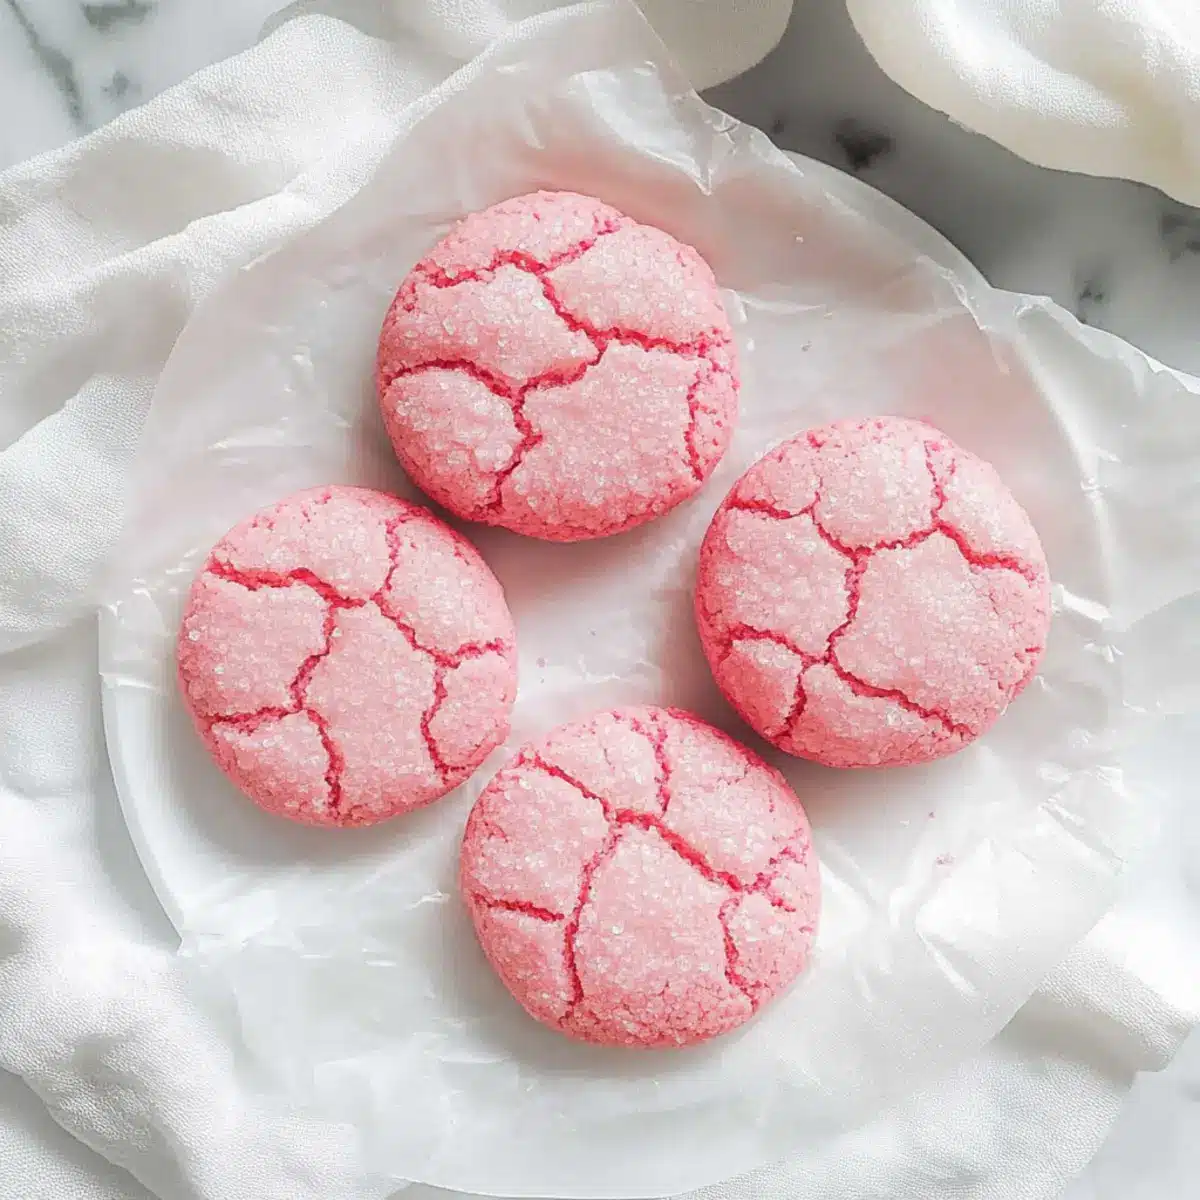
Pink Velvet Cookie Variations
Get ready to customize your pink velvet cookies with these scrumptious swaps and twists that enhance flavor and fun!
-
Gluten-Free: Substitute all-purpose flour with gluten-free flour for a delightful treat everyone can enjoy. These cookies will still be soft and chewy, perfect for any gathering.
-
Dairy-Free: Use vegan butter in place of regular butter to keep the indulgence while catering to a dairy-free diet. You’ll hardly notice the difference in taste!
-
Flavor Twist: Add 1 teaspoon of almond extract for a fragrant and unique flavor that complements the cocoa beautifully. It’s a subtle change that elevates the entire cookie experience.
-
Chocolate Lovers: Fold in ½ cup of chocolate chips for a double dose of chocolatey goodness. Each bite will be even more decadent and heavenly!
-
Fruity Flair: Mix in ½ cup of dried cranberries or cherries to introduce a delightful tartness that perfectly contrasts the sweetness of the cookies. It’s a fun surprise in every bite!
-
Nutty Crunch: Incorporate ½ cup of chopped walnuts or pecans for a crunchy texture that adds depth to these soft cookies. The nutty flavor pairs wonderfully with the rich cocoa.
-
Sprinkle Magic: Top your cookies with colorful sprinkles before baking for a festive look that will impress everyone. It’ll make them the star of any dessert table!
-
Spicy Heat: For those who enjoy a kick, add a pinch of cayenne pepper to your dough. The subtle heat against the sweet backdrop is a delightful surprise!
As you explore these variations, you might also love experimenting with delightful treats like Chocolate Cherry Cookies or the festive Cute Cauldron Cookie. Happy baking!
What to Serve with Pink Velvet Cookies?
There’s something truly magical about serving these delightful treats alongside the perfect pairings.
-
Creamy Vanilla Ice Cream: The cool, creamy texture complements the soft cookies and enhances their sweet flavors, creating an irresistible dessert experience.
-
Fluffy Whipped Cream: A light dollop of whipped cream adds an airy texture that balances the cookies’ richness, making every bite feel indulgent.
-
Fresh Strawberries: Juicy, vibrant strawberries provide a fresh, fruity contrast, enhancing the cookie’s visual appeal while adding a burst of flavor.
-
Chocolate Milkshake: The rich, chocolatey treat pairs beautifully with the pink velvet cookies, combining two classic indulgences into one delightful dessert.
-
Lemonade: The refreshing tartness of lemonade contrasts wonderfully with the sweetness of the cookies, providing a refreshing palate cleanse between bites.
-
Cheesecake Bites: These creamy, decadent morsels can complement the cookies beautifully, perfect for a dessert platter at your next gathering.
-
Coconut Macaroons: Their chewy texture and sweet, coconut flavor add variety to your dessert spread while still feeling festive and fun.
-
Sparkling Fruit Punch: A bubbly, fruity drink elevates the dessert table’s ambiance while pairing delightfully with the cookies’ sweet notes.
Expert Tips for Pink Velvet Cookies
-
Don’t Over-Mix: Over-mixing can result in tough cookies. Mix until just combined to keep them soft and tender.
-
Chill the Dough: For perfectly shaped cookies, chill your dough for at least 30 minutes before baking. This step helps maintain their shape.
-
Use Fresh Baking Soda: Always check the freshness of your baking soda. Expired baking soda can lead to flat and dense cookies instead of light, fluffy Pink Velvet Cookies.
-
Measuring Flour Correctly: Use the spoon-and-level method to measure flour. Scooping directly from the bag can lead to too much flour, affecting texture.
-
Space Cookies Properly: Ensure you space your dough balls about 2 inches apart on the baking sheet. This gives them room to spread and bake evenly.
-
Add a Personal Touch: Don’t hesitate to incorporate white chocolate chips or sprinkles for a fun twist on these already delicious Pink Velvet Cookies!
Make Ahead Options
These Pink Velvet Cookies are fantastic for meal prep enthusiasts! You can prepare the cookie dough up to 24 hours in advance by following these steps: After mixing the dough, wrap it tightly in plastic wrap and refrigerate. This not only saves you time on busy days but also enhances the flavors. If you prefer, you can also scoop the dough into balls and freeze them for up to 3 months; just remember to thaw them in the fridge overnight before baking. When you’re ready to enjoy, simply bake straight from the fridge or frozen, adding an extra minute or two to the baking time. You’ll have freshly baked cookies that are just as delicious!
How to Store and Freeze Pink Velvet Cookies
Room Temperature: Keep your Pink Velvet Cookies in an airtight container at room temperature for up to 1 week to maintain freshness and softness.
Fridge: If you prefer, store the cookies in the refrigerator for up to 2 weeks, but they may become slightly firmer. Allow them to come to room temperature before enjoying.
Freezer: For longer storage, freeze the cookies in a single layer on a baking sheet, then transfer to an airtight container or freezer bag. They can be frozen for up to 3 months.
Reheating: To enjoy frozen cookies, simply thaw them at room temperature or warm them in the oven at 300°F (150°C) for about 5-7 minutes until just warmed through.
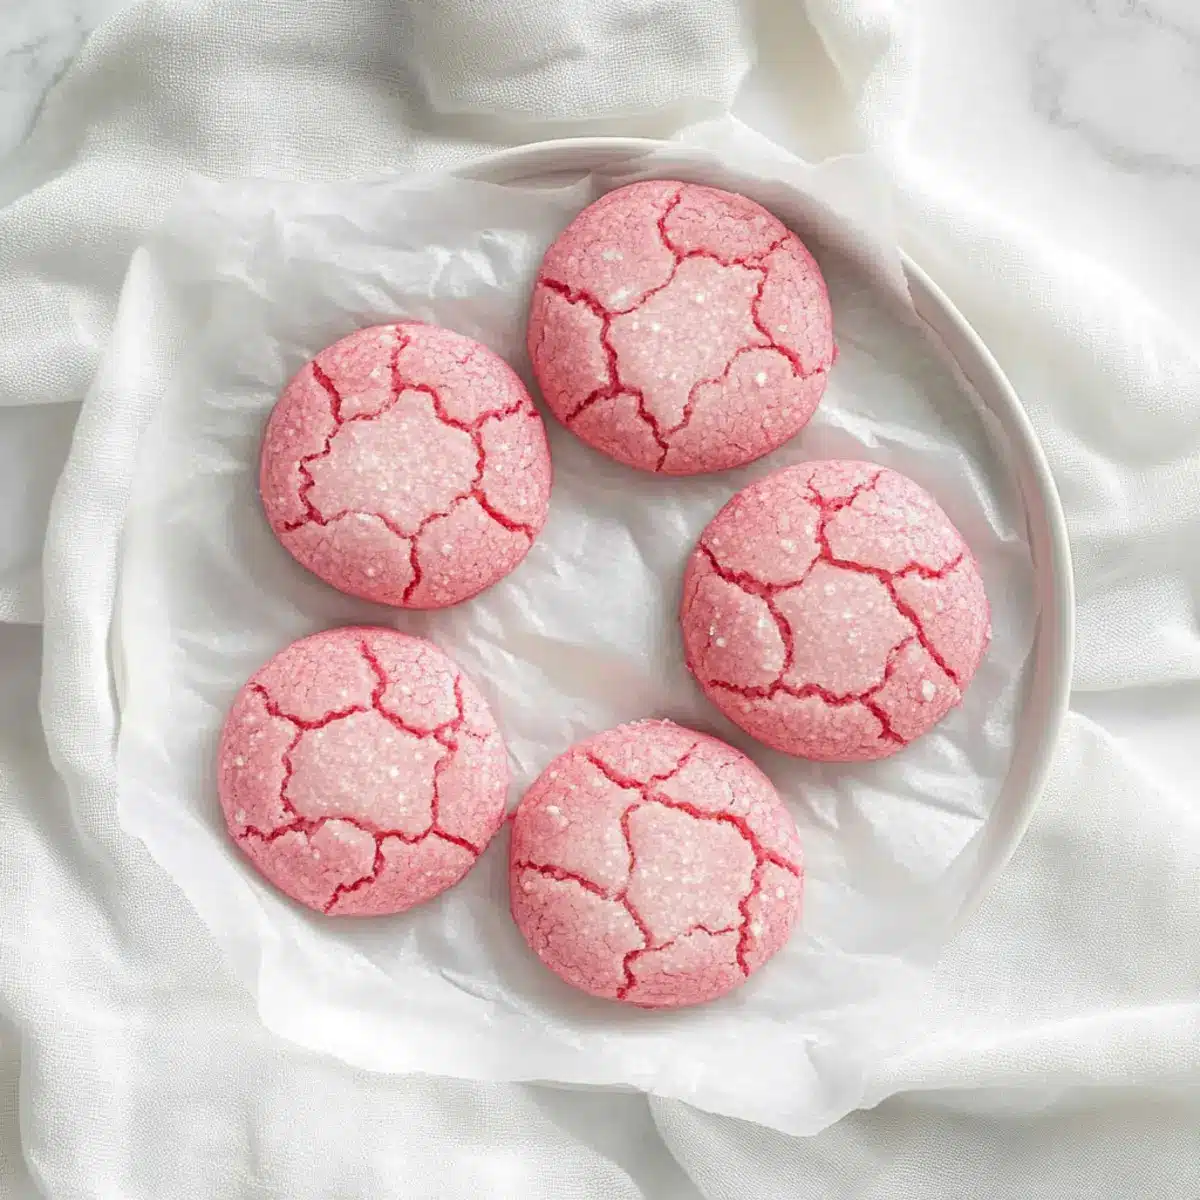
Pink Velvet Cookie Recipe FAQs
What’s the best way to select ripe ingredients for my Pink Velvet Cookies?
Absolutely! When selecting your ingredients, especially for fresh produce, choose soft, vibrant eggs with no cracks. Opt for unsweetened cocoa powder that appears dark and rich, and ensure your butter is slightly softened but not melted for optimal creaminess. This combination will greatly contribute to the texture and flavor of your cookies.
How should I store my Pink Velvet Cookies, and for how long?
You can keep your Pink Velvet Cookies in an airtight container at room temperature for up to 1 week. If stored correctly, they’ll maintain their soft and chewy goodness. For extended freshness, consider refrigerating them for up to 2 weeks. Just note that they may firm up a bit, so allow them to reach room temperature before devouring!
Can I freeze Pink Velvet Cookies, and how do I do it?
Yes, you can freeze your Pink Velvet Cookies! To do so, place them in a single layer on a baking sheet and freeze until solid. Then, transfer them to an airtight container or a freezer bag, layering parchment paper between each cookie if you like. They can be frozen for up to 3 months. When you’re ready to enjoy, simply thaw them at room temperature or warm them in the oven at 300°F (150°C) for about 5-7 minutes.
What can I do if my cookie dough is too sticky?
If you find your dough is too sticky, no worries! Chill the dough in the refrigerator for about 30 minutes. This helps solidify the butter and makes it easier to handle. You can also sprinkle a bit of flour on your hands while rolling or scooping the dough. Just remember to be careful not to add too much flour, as it can alter the texture of your cookies.
Are there any dietary considerations for Pink Velvet Cookies?
Very! If you’re making these cookies for someone with dietary restrictions, you can use gluten-free flour instead of all-purpose flour for a gluten-free treat. To make them dairy-free, swap out regular butter with vegan butter. For a healthier twist, consider using a sugar alternative like coconut sugar which can lower the calorie content while still providing sweetness.
How can I avoid flat cookies?
To prevent flat Pink Velvet Cookies, ensure your baking soda is fresh—old baking soda can lead to flat cookies due to reduced leavening power. Also, make sure you’ve chilled the dough for at least 30 minutes before baking and that you space your cookie dough balls properly on the baking sheet to allow room for spreading. This will help the cookies maintain their shape and rise beautifully!
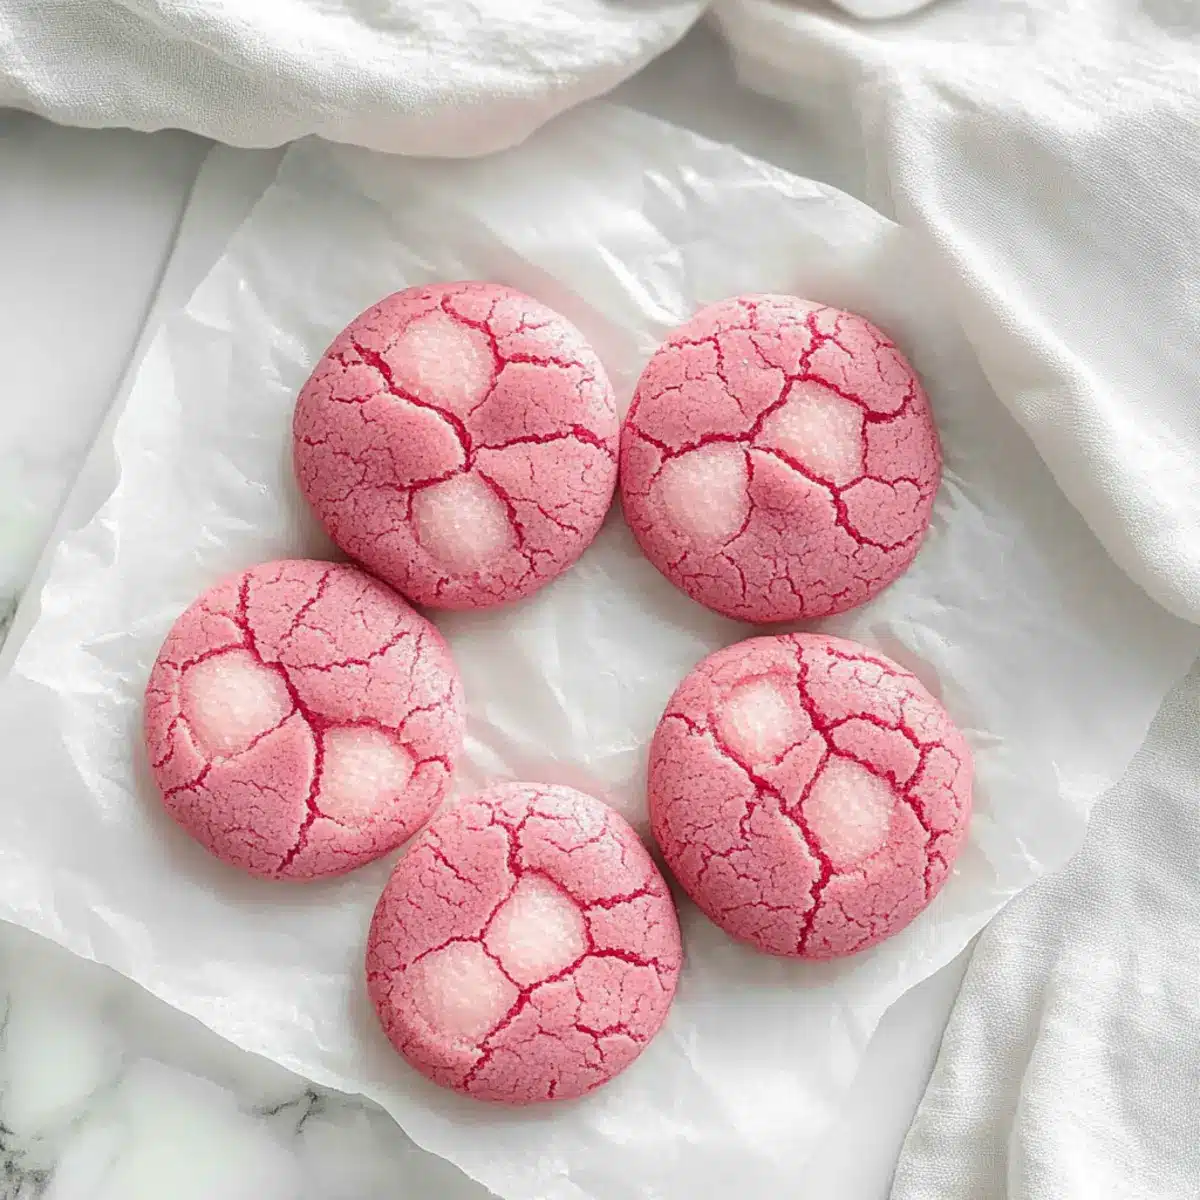
Pink Velvet Cookie Delight: Soft, Sweet, and Oh-So Gorgeous
Ingredients
Equipment
Method
- Preheat your oven to 350°F (175°C) and line a baking sheet with parchment paper.
- In a medium bowl, whisk together flour, cocoa powder, and baking soda until thoroughly combined.
- In a large mixing bowl, cream together butter and sugar until light and fluffy, about 2-3 minutes.
- Add egg, vanilla extract, and red food coloring to the butter mixture and mix until fully blended.
- Gradually incorporate the dry mixture into the wet ingredients and mix on low speed until just combined.
- Using a cookie scoop, portion out the dough onto the prepared baking sheet, spacing them about 2 inches apart.
- Bake for 10-12 minutes until the edges are set but the centers are slightly soft.
- Let cookies cool on the baking sheet for 5 minutes before transferring them to a wire rack to cool completely.
Leave a Reply