
As I was packing for a sunny picnic last weekend, a brilliant idea struck me—a Pressed Italian Picnic Sandwich Loaf! This vibrant sandwich captures the essence of Italian flavors in a portable, crowd-pleasing masterpiece. By layering savory meats, creamy cheeses, and bright veggies between slices of your favorite sturdy bread, and then pressing it overnight, you end up with a sliceable loaf that’s as gorgeous as it is delicious. Perfect for gatherings or meal prep, it’s an effortless solution for those busy days when you want something special without the fuss. Plus, the customizable options—like a roasted veggie variation or a spicy twist—make this sandwich versatile enough for anyone’s palate. Are you ready to dive into making this picnic hero?
Why is this sandwich a crowd favorite?
Savory Layers: Packed with rich Italian meats, creamy cheeses, and vibrant veggies, each bite of the Pressed Italian Picnic Sandwich Loaf bursts with flavor.
Make-Ahead Marvel: Prepare this sandwich in advance to save time, allowing the flavors to meld overnight for a taste that’s even better the next day.
Customizable Delight: Enjoy endless variations! Whether you’re in the mood for a Mediterranean veggie option or a spicy kick, there’s a version for everyone.
Portable Perfection: Its compact and sliceable form makes it perfect for picnics, road trips, or lunchboxes—say goodbye to boring takeout!
Impressive Presentation: When you unwrap this loaf, you’ll reveal a stunning mosaic of flavors that impresses friends and family, making it a perfect centerpiece for gatherings or potlucks.
For more easy and delicious recipes, check out my Flavor Packed Sandwich and the Italian Ground Turkey dish!
Pressed Italian Picnic Sandwich Loaf Ingredients
For the Bread
• Loaf of Bread – A sturdy bread like ciabatta or sourdough is ideal for holding moisture without falling apart.
For the Filling
• Salami – This flavorful meat forms the base layer and helps keep the bread from becoming soggy.
• Ham – Adds a savory richness and moisture to the sandwich.
• Cheese (e.g., provolone or mozzarella) – Provides a creamy texture that enhances the overall flavor.
• Olive Tapenade – Acts as a moisture barrier and offers a delicious, salty flavor; cream cheese can be an alternative if preferred.
• Fresh Spinach – Brightens up the loaf with fresh flavor and adds a pop of color.
• Roasted Red Peppers – Introduces sweetness and juiciness to balance the savory elements.
For Extra Flavor
• Additional spices or spreads – Feel free to add optional ingredients to spice things up or add creaminess to your Pressed Italian Picnic Sandwich Loaf.
Step‑by‑Step Instructions for Pressed Italian Picnic Sandwich Loaf
Step 1: Prepare the Bread
Begin by selecting a sturdy loaf of bread like ciabatta or sourdough. Using a serrated knife, slice the top off the loaf and carefully hollow out the inside, leaving a 1-inch shell. This creates a solid structure that will hold your savory ingredients and prevent sogginess, ensuring your Pressed Italian Picnic Sandwich Loaf stays intact and ready to impress.
Step 2: Apply Tapenade
Spread a generous layer of olive tapenade on the base of the hollowed loaf and on the inside of the lid. This acts as a moisture barrier, sealing the bread and enhancing flavor beautifully. Make sure to cover every inch so each slice of your Pressed Italian Picnic Sandwich Loaf is packed with that rich, salty goodness when served.
Step 3: Layer Ingredients
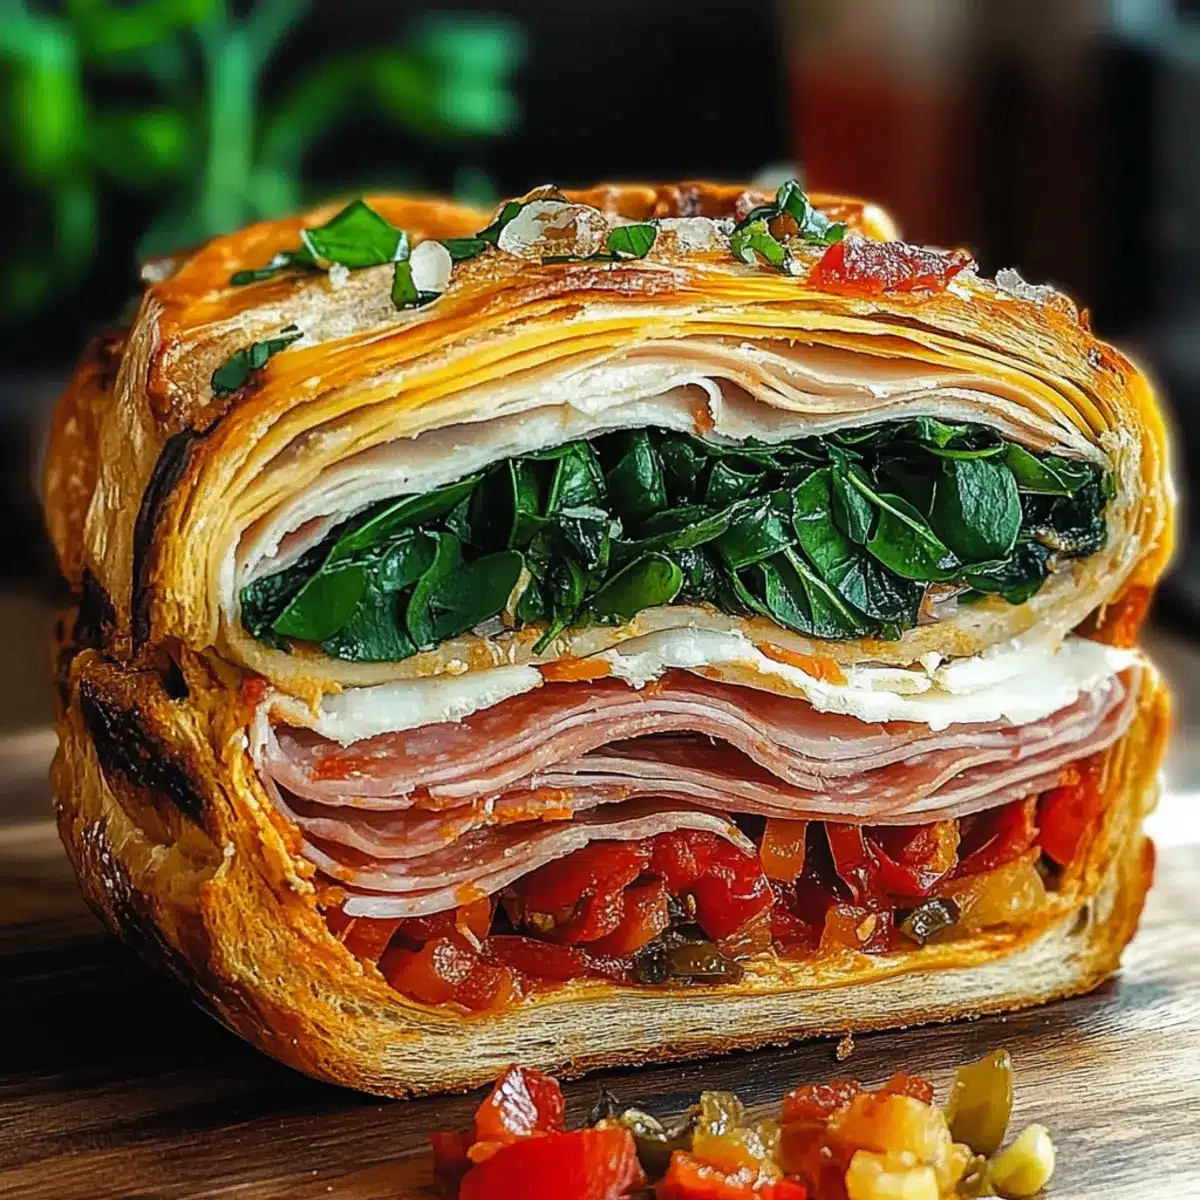
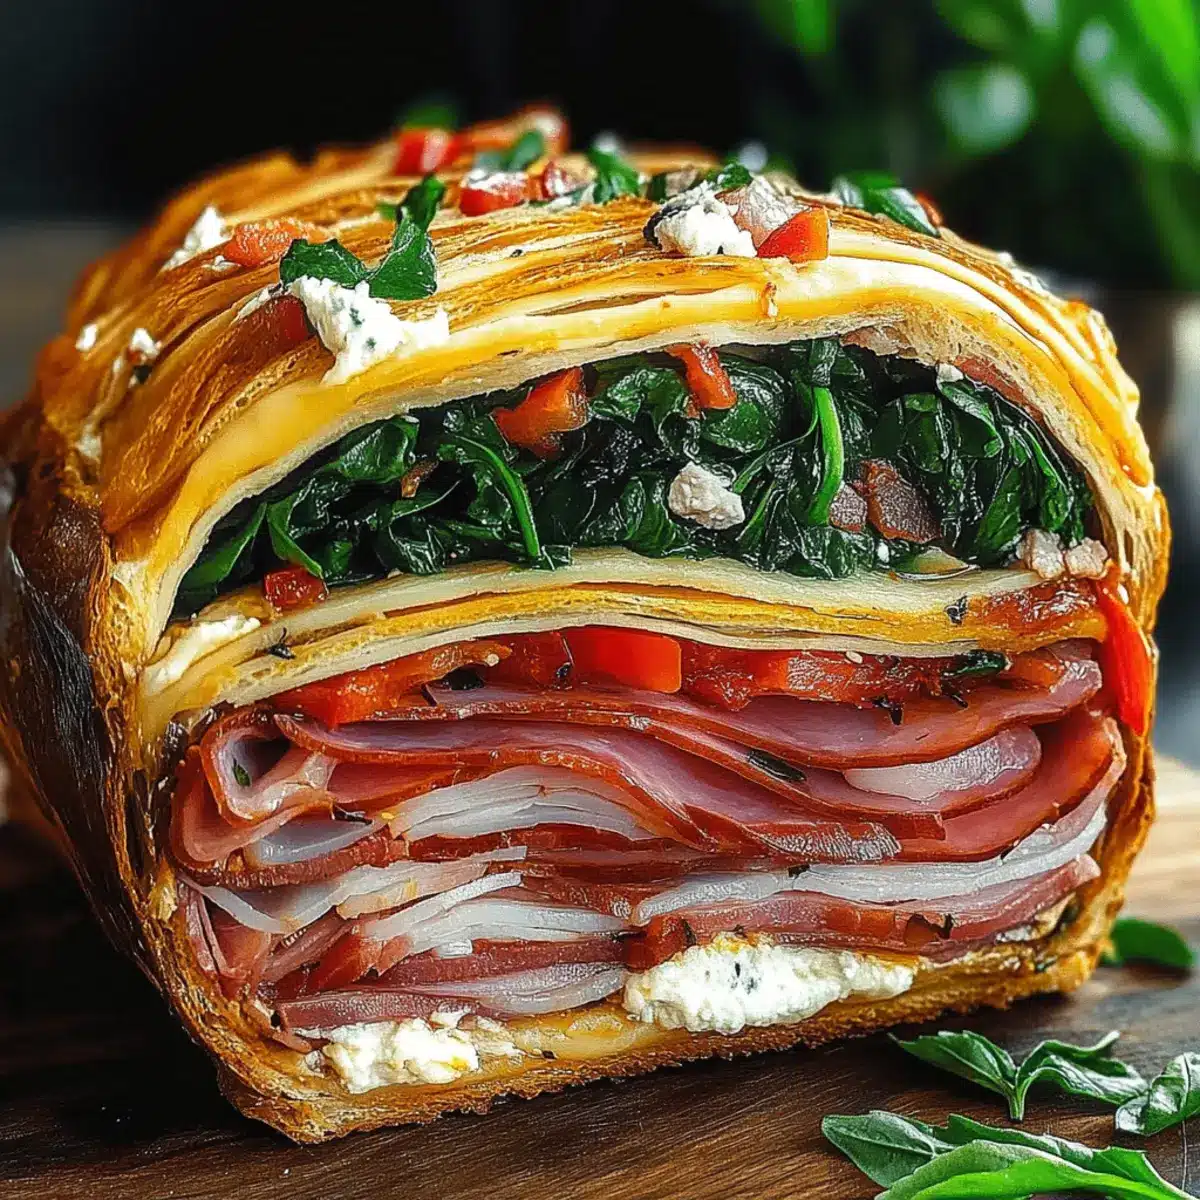
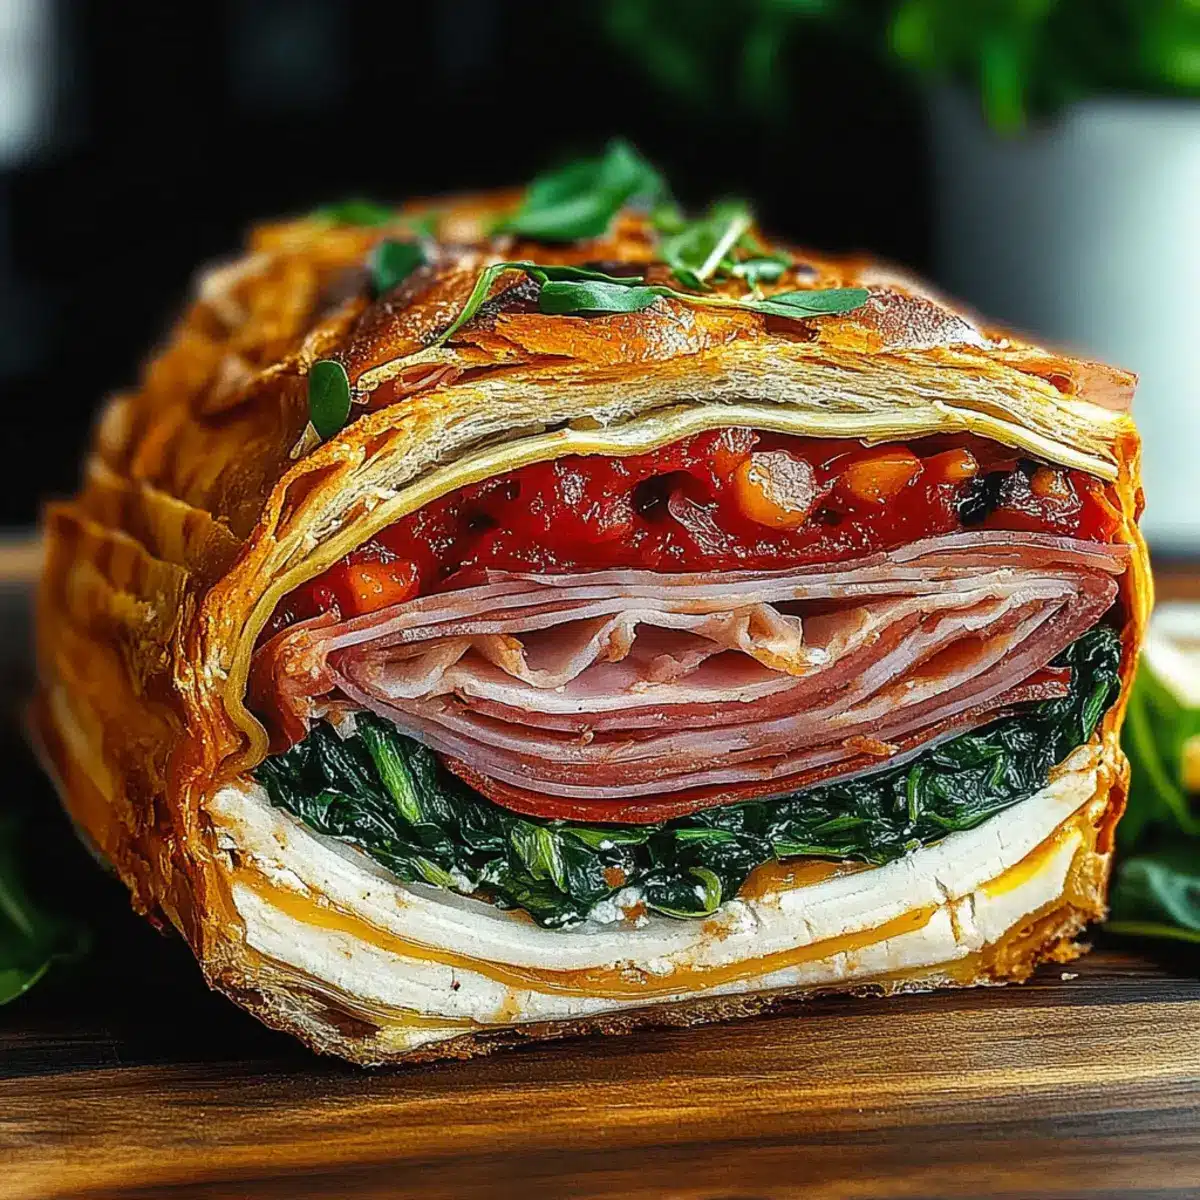
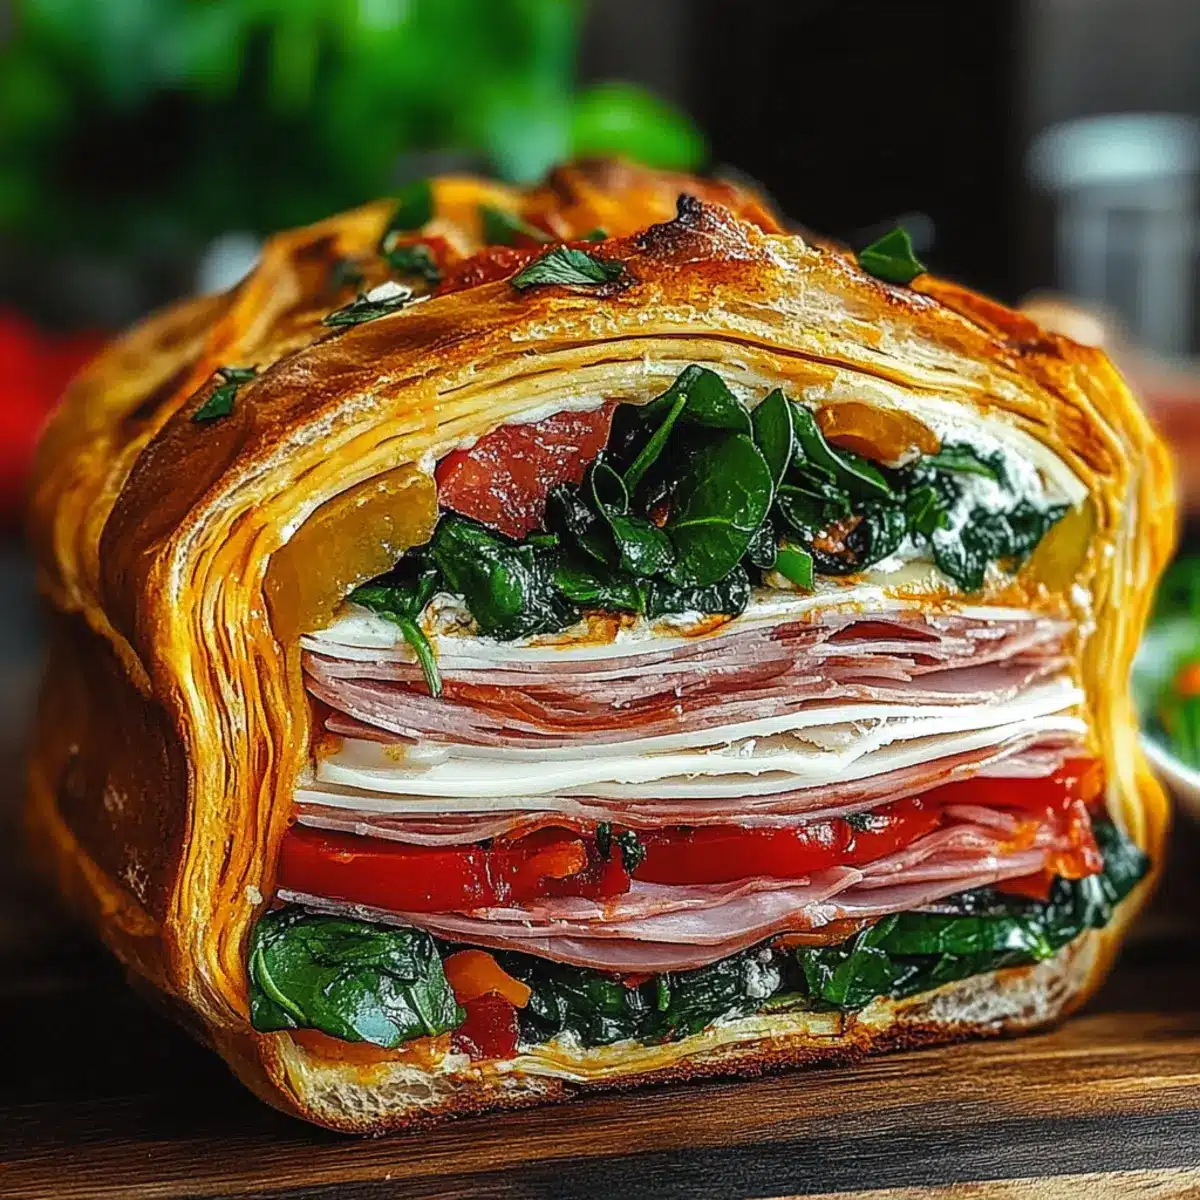
Start layering your ingredients, beginning with the salami, followed by ham, and then cheese. Overlap each layer slightly to create an appealing visual effect. Next, add fresh spinach and roasted red peppers for a burst of color and flavor. Repeat these layers until the loaf is filled to the top, ensuring each bite of your sandwich is full of Italian charm.
Step 4: Press the Loaf
After layering all your ingredients, place the lid back onto the loaf and wrap it tightly with plastic wrap, then with aluminum foil for extra protection. Weight it down using a heavy skillet or canned goods to compress the loaf. Refrigerate for at least 8 hours, allowing the flavors to meld beautifully into your Pressed Italian Picnic Sandwich Loaf.
Step 5: Serve
Once pressed, unwrap the loaf and brush the exterior with olive oil or melted butter for added richness. Next, slice the sandwich into wedges or even squares for an attractive presentation. Each slice reveals the beautiful layers of savory meats, creamy cheese, and vibrant veggies, making your Pressed Italian Picnic Sandwich Loaf a delightful centerpiece for any gathering.
How to Store and Freeze Pressed Italian Picnic Sandwich Loaf
Fridge: Keep your Pressed Italian Picnic Sandwich Loaf tightly wrapped in plastic wrap or foil; it will stay fresh for up to 3 days.
Freezer: For longer storage, slice the loaf and wrap each piece tightly in foil before placing in an airtight container. It can be frozen for up to 3 months.
Reheating: Thaw frozen slices in the fridge overnight, then briefly warm in a pan or oven to restore their delightful texture.
Make-Ahead Tip: Feel free to prepare the loaf a day in advance; it actually tastes better as the flavors meld together overnight.
Pressed Italian Picnic Sandwich Loaf Variations
Feel free to make this delightful sandwich your own with these fun twists and swaps that cater to all taste buds!
-
Mediterranean Veggie: Swap meats for grilled eggplant, zucchini, and marinated artichokes for a fresh, vibrant option packed with flavor. The mix of textures will delight any veggie lover!
-
The Spicy Devil: Amplify the heat with hot capicola or spicy salami paired with pepper jack cheese. This fiery twist is perfect for those who love a little kick in their meals.
-
Breakfast Loaf: Transform your loaf into a morning treat by layering scrambled eggs, breakfast sausage, and sharp cheddar cheese. It’s a hearty start to your day and can be enjoyed anytime!
-
Seafood Star: Use tuna salad mixed with fresh veggies for a lighter take. This refreshing alternative is not only delicious but also brings a coastal vibe to your picnic.
-
Low-Carb Hack: Hollow large bell peppers instead of using bread for a low-carb alternative. Fill them with your favorite ingredients for a flavorful twist that’s also healthy!
-
Italian Bruschetta: For a vibrant flavor change, layer fresh tomatoes, basil, and mozzarella. Drizzle with balsamic glaze for a delicious and colorful topping that sings of Italy.
-
Herb-Infused Delight: Mix fresh herbs like basil, oregano, or rosemary with your layers for an aromatic boost. The fragrant flavors will elevate your loaf to gourmet status.
-
Vegan Variation: Replace all meats and cheese with hummus, roasted veggies, and avocado for a robust vegan version that still satisfies your cravings. It’s creamy, colorful, and full of nutrients!
For more inspiration, check out my delicious Flavor Packed Sandwich or try the incredible Italian Ground Turkey for a different culinary adventure!
What to Serve with Pressed Italian Picnic Sandwich Loaf
Imagine bright flavors and mouthwatering aromas that transform any gathering into a festive occasion, enticing your guests at first sight.
- Crispy Green Salad: A simple mix of arugula, cherry tomatoes, and a tangy vinaigrette complements the loaf’s richness while adding a refreshing crunch.
- Marinated Olives: Their briny flavor offers a delicious contrast, elevating your picnic experience with Mediterranean flair.
- Zesty Pickles: The sharpness of pickles cuts through the savory layers, providing both flavor and texture, balancing each bite beautifully.
- Roasted Vegetable Medley: Oven-roasted seasonal vegetables add sweetness and depth, making each slice of the sandwich even more satisfying.
- Sparkling Lemonade: A bubbly, citrusy drink enhances the meal, offering a refreshing sip that cleanses your palate between bites.
Not only do these pairings beautifully complement the Pressed Italian Picnic Sandwich Loaf, but they also create an inviting spread that beckons everyone to indulge.
Expert Tips for Pressed Italian Picnic Sandwich Loaf
-
Choose the Right Bread: Use a sturdy loaf like ciabatta or sourdough; they hold up to the moisture without becoming soggy.
-
Layer Strategically: Start with the meats at the bottom; their oils shield the bread from moisture, keeping your Pressed Italian Picnic Sandwich Loaf intact.
-
Pressing Weight Matters: Use a heavy skillet and canned goods to firmly press the loaf, ensuring even compression for the best flavor melding.
-
Fresh Ingredients: Always opt for fresh veggies and quality meats to enhance the taste; stale or low-quality ingredients can spoil the overall experience.
-
Overnight Flavor Boost: For optimal results, let your loaf press overnight—this allows the flavors to infuse beautifully, making every bite delicious.
Make Ahead Options
Planning ahead with the Pressed Italian Picnic Sandwich Loaf is a game-changer for busy weeknights or picnic days! You can easily prepare the entire sandwich up to 24 hours in advance, allowing the flavors to meld beautifully as it sits and develops overnight. Simply follow the initial steps of hollowing out the loaf and layering your ingredients, then tightly wrap it in plastic wrap and foil to keep it fresh. To maintain quality, refrigerate it as soon as it’s wrapped, and remember that weighing it down during pressing ensures a satisfying texture. When it’s time to serve, just unwrap, brush with olive oil or melted butter, slice, and watch your loved ones enjoy this flavor-packed masterpiece!
Pressed Italian Picnic Sandwich Loaf Recipe FAQs
How do I select the best bread for my sandwich loaf?
Absolutely! For your Pressed Italian Picnic Sandwich Loaf, I recommend sturdy options like ciabatta, sourdough, or French bread. These types endure the pressure and moisture without falling apart, ensuring your sandwich maintains its shape and freshness.
How should I store my Pressed Italian Picnic Sandwich Loaf?
Very easy! Wrap your sandwich tightly in plastic wrap or aluminum foil and store it in the fridge. It will stay fresh for up to 3 days, making it a perfect make-ahead option for picnics or lunches.
Can I freeze my sandwich loaf for later use?
Yes, you can! If you want to freeze slices of your Pressed Italian Picnic Sandwich Loaf, wrap each piece tightly in foil and place them in an airtight container. It can be stored in the freezer for up to 3 months. When you’re ready to enjoy, simply thaw in the fridge overnight and warm it up in a skillet or toaster oven.
What should I do if my sandwich is too soggy?
If you find your Pressed Italian Picnic Sandwich Loaf is too soggy, there are a few steps you can take. First, make sure you’re layering your meats closest to the bread to act as a moisture barrier. Additionally, using a thicker spread, like olive tapenade, can help. If you’re making it again, consider pressing it with more weight to compact the ingredients properly.
Are there any dietary considerations for my sandwich loaf?
Definitely! If you’re making the Pressed Italian Picnic Sandwich Loaf for someone with dietary restrictions, consider using gluten-free bread or completely plant-based ingredients for a vegetarian or vegan option. For allergies, always check the specific ingredients in deli meats and spreads; using fresh veggies and homemade spreads can help customize it to your needs.
What is the best way to slice my sandwich for serving?
To achieve the best presentation, after pressing, unwrap your loaf and brush the exterior with olive oil or melted butter. Use a serrated knife to slice it into wedges or squares. This ensures the beautiful layers of your Pressed Italian Picnic Sandwich Loaf are showcased, making it a stunning centerpiece for your gathering!
Pressed Italian Picnic Sandwich Loaf: Perfect for Adventures
Ingredients
Equipment
Method
- Begin by selecting a sturdy loaf of bread like ciabatta or sourdough. Using a serrated knife, slice the top off the loaf and carefully hollow out the inside, leaving a 1-inch shell.
- Spread a generous layer of olive tapenade on the base of the hollowed loaf and on the inside of the lid.
- Start layering your ingredients, beginning with the salami, followed by ham, and then cheese. Follow with fresh spinach and roasted red peppers.
- After layering, place the lid back onto the loaf and wrap tightly with plastic wrap and aluminum foil. Weight it down and refrigerate for at least 8 hours.
- Once pressed, unwrap the loaf and brush the exterior with olive oil or melted butter. Slice into wedges or squares for serving.
Leave a Reply