
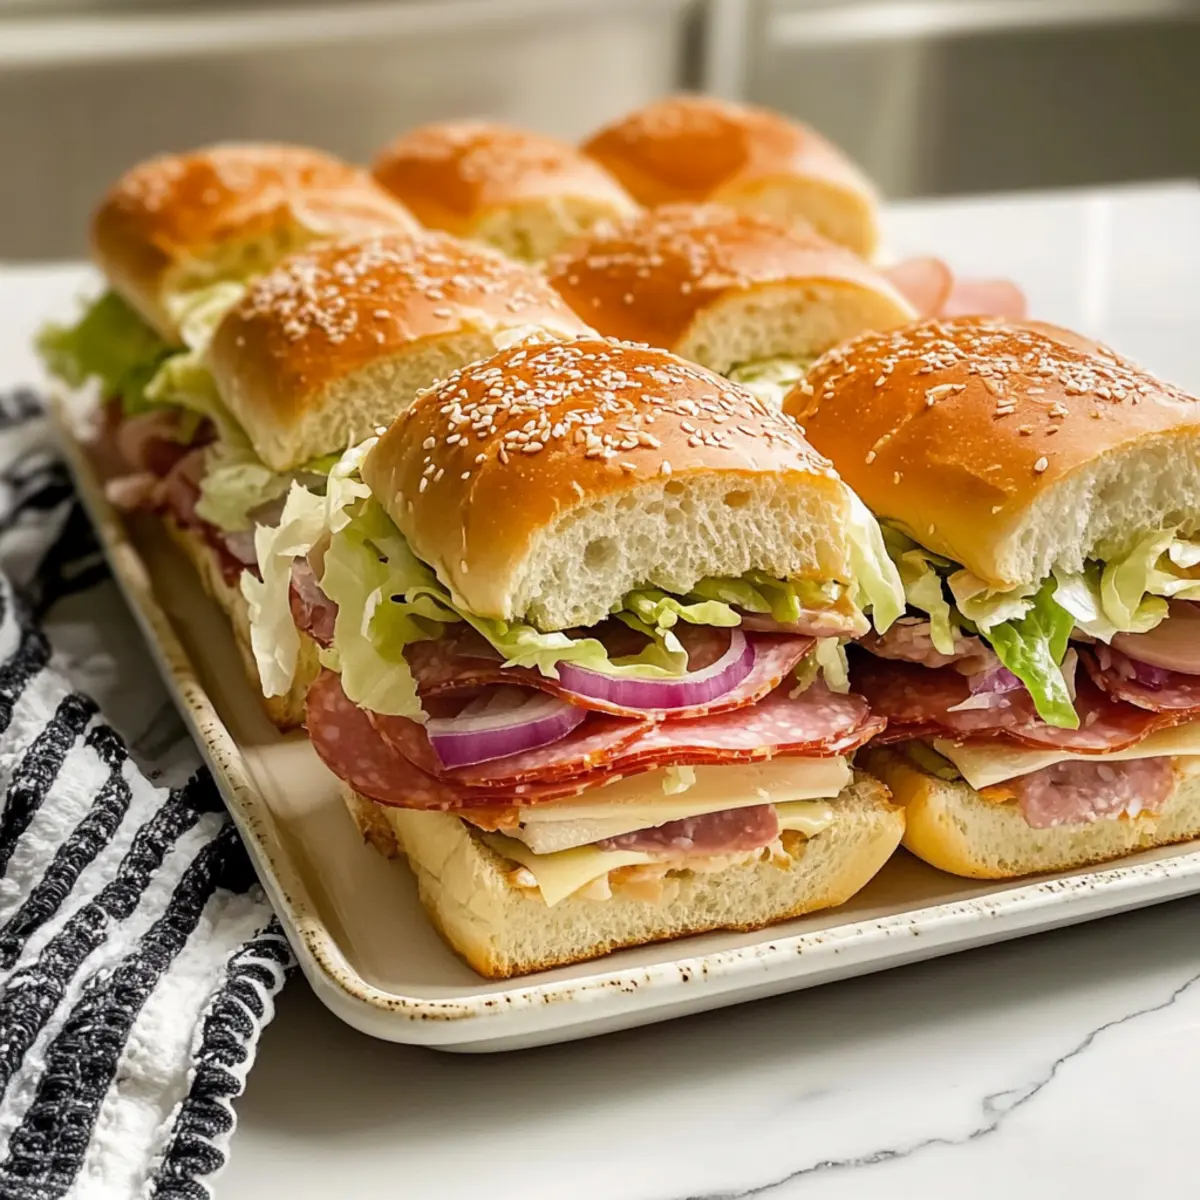
As I pulled the golden-brown sliders from the oven, the aromatic scent of melted cheese and savory meats filled my kitchen, instantly transporting me to a bustling Italian deli. These Ultimate Italian Grinder Sandwich Sliders are the effortless comfort food you didn’t know you needed, making them ideal for family gatherings and game nights alike. With just a few easy steps, you can whip up these customizable delights packed with layers of delicious deli meats and fresh toppings that are sure to please everyone at the table. Not only are they quick to prepare, but they also allow for endless variations, so you can play with flavors to your heart’s content. Ready to dive into this mouthwatering adventure? Let’s get started!
Why are Italian Grinder Sandwich Sliders a must-try?
Simplicity at Its Best: This recipe comes together in just a few straightforward steps, making it perfect for beginners and seasoned chefs alike.
Endless Customization: Mix and match meats, cheeses, and toppings according to your family’s preferences for a delightful twist every time.
Comfort Food Favorite: The warm, cheesy layers offer that satisfying comfort we all crave, making these sliders a hit during family gatherings and game nights.
Time-Saving Delight: Prep ahead of time and bake just before serving; it’s a game-changer for busy weeknights!
Crowd Pleaser: Whether it’s game day or a cozy family dinner, these sliders are sure to impress! If you’re looking to spice things up, consider pairing with these Buffalo Chicken Sliders for an awesome spread!
Italian Grinder Sandwich Sliders Ingredients
For the Sliders
• Hawaiian rolls or slider buns – Soft base for the perfect bite; whole wheat rolls can make it a healthier choice.
• Provolone cheese – Melty goodness that enhances flavor; mozzarella is a great substitution if desired.
• Turkey ham – Adds savory depth; lean turkey slices are ideal for a lighter option.
• Pepperoni – Offers a spicy punch; swap with roast beef for a different taste experience.
• Salami – Rich and flavorful; you can replace with smoked turkey for a lighter option.
For the Mixture
• Mayonnaise – Binds toppings together with creaminess; Greek yogurt works as a lighter alternative.
• Shredded iceberg lettuce – Provides a crunchy texture; consider romaine for extra flavor.
• Red onion – Adds a sharp bite; green onions can be used for a milder taste.
• Banana peppers – Bring a tangy note; omit them if you prefer a milder flavor.
• Red wine vinegar – Cuts through richness, adding a bit of acidity; apple cider vinegar can be used instead.
• Olive oil – Moisture booster for the filling; canola oil is a suitable substitute.
For the Topping
• Melted butter – Contributes to that golden, crispy crust; omit for a lighter version.
• Italian seasoning – A blend of herbs that deepens flavor; a mix of oregano and basil works well too.
• Garlic powder – Enhances the savory profile; fresh garlic is a lovely substitute but use less.
• Black pepper – Adds a nice spice; adjust according to your taste preference.
• Grated parmesan cheese – Delivers umami flavor; nutritional yeast can make it vegan-friendly.
With these ingredients, your Italian Grinder Sandwich Sliders will be a hit—deliciously warm and satisfying!
Step‑by‑Step Instructions for Italian Grinder Sandwich Sliders
Step 1: Preheat the Oven
Begin by preheating your oven to 350°F (175°C). This temperature will ensure the sliders bake evenly, providing that delicious melty cheese and crispy topping you crave. While the oven heats up, gather your ingredients so everything is ready to go.
Step 2: Prepare the Rolls
Take your Hawaiian rolls or slider buns and slice them in half horizontally. Place the bottom halves in a greased baking dish, cut side up. Ensuring they’re snug will help keep all the delightful flavors together when you layer in the meats and cheese for your Italian Grinder Sandwich Sliders.
Step 3: Layer the Meats
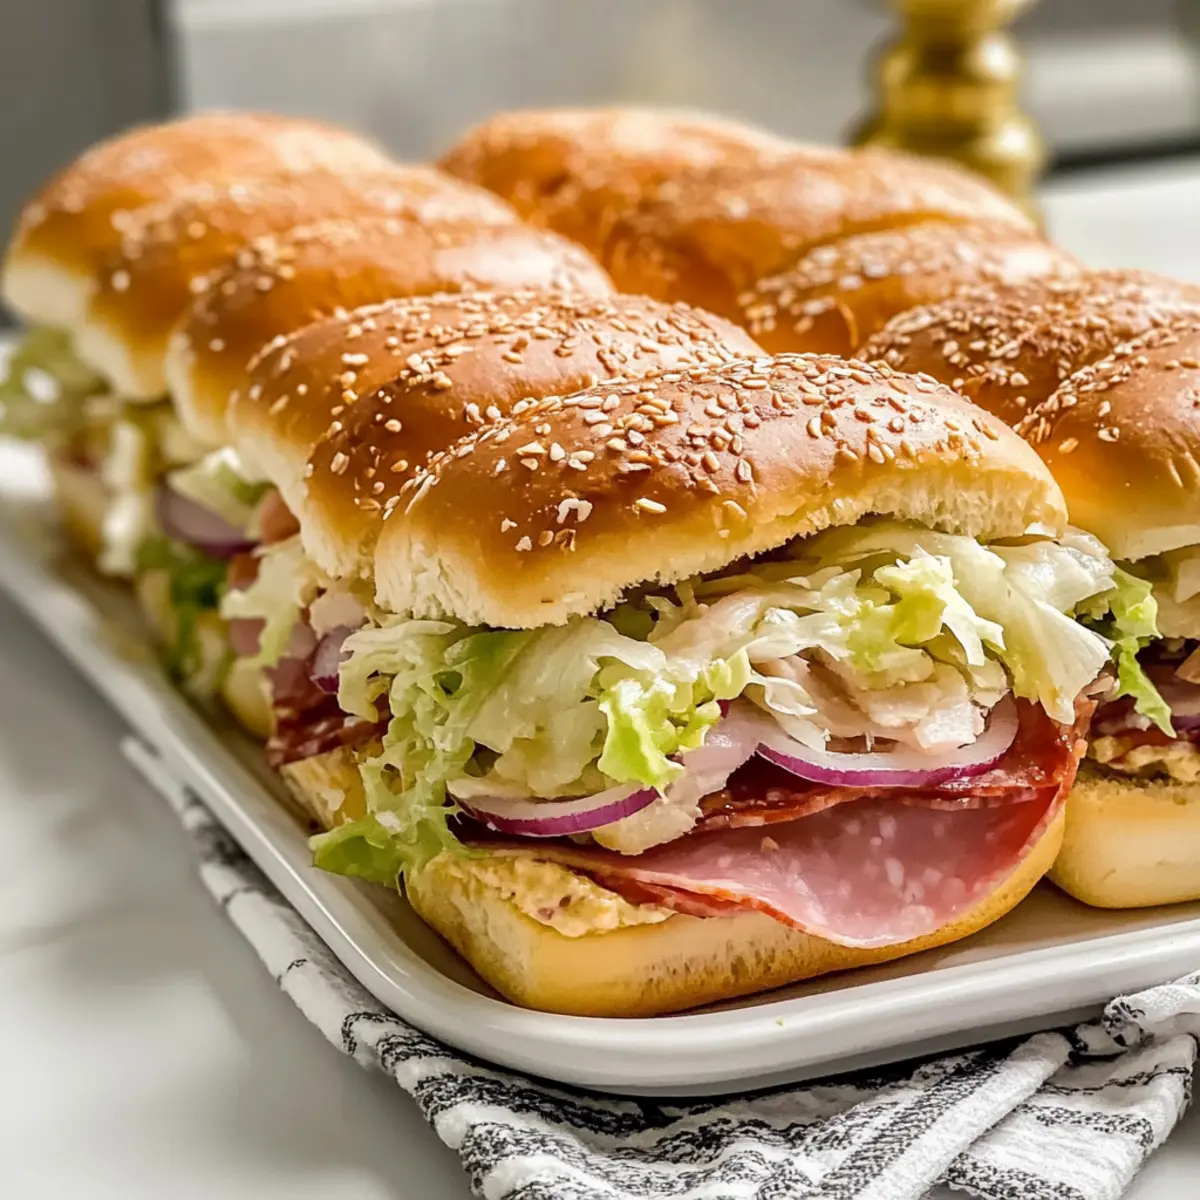
Now, it’s time to build your sandwich! Layer the turkey ham, salami, and pepperoni evenly across the bottom half of the rolls, ensuring every slider gets an ample portion. The combination of these meats will not only enhance the flavor but also keep them wonderfully juicy.
Step 4: Add the Cheese
Next, place slices of provolone cheese on top of the layers of meat. The cheese will melt beautifully as the sliders bake, creating a flavorful glue that holds the meats together. Make sure to cover the meat completely; this will help it all meld together into one hearty bite.
Step 5: Finish with the Tops
Gently place the top halves of the rolls back onto the filled bottom halves. This assembly allows the ingredients to create an irresistible sandwich experience. Press down slightly to secure them, ensuring that everything is snugly packed before baking.
Step 6: Prepare the Butter Mixture
In a small bowl, combine melted butter, garlic powder, Italian seasoning, and grated parmesan cheese. Mix until fully incorporated, then brush this savory mixture generously over the tops of the rolls. This step adds a deliciously crispy crust to your sliders as they bake.
Step 7: Bake the Sliders
Cover the baking dish with foil and place it in the preheated oven. Bake the sliders for 15 minutes to warm everything through. After this time, remove the foil and bake for an additional 5 minutes, or until the sliders are golden brown and the cheese is delightfully bubbly.
Step 8: Prepare the Toppings
While your Italian Grinder Sandwich Sliders are baking, prepare the fresh topping. In a bowl, combine shredded iceberg lettuce, diced red onion, banana peppers, mayonnaise, olive oil, red wine vinegar, and black pepper. Stir well to ensure all ingredients are evenly coated, adding a crunchy contrast to your warm sliders.
Step 9: Assemble the Final Touches
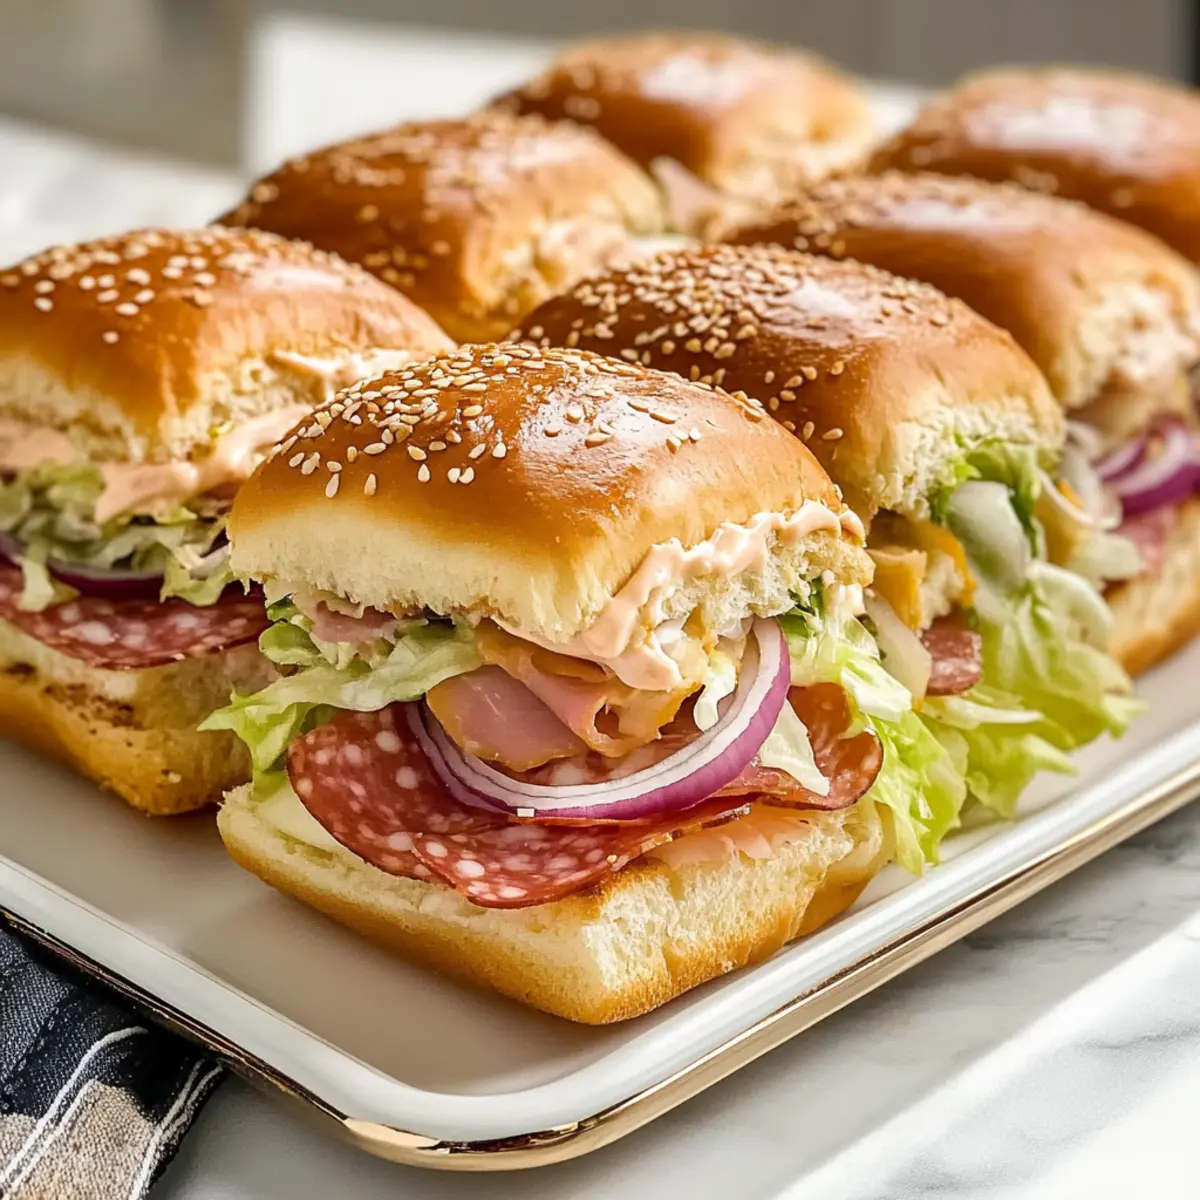
Once the sliders are out of the oven, let them cool for just a couple of minutes. Carefully spoon the prepared lettuce mixture inside each slider, allowing the fresh flavors to complement the rich, cheesy filling. This step really brings your Italian Grinder Sandwich Sliders to life!
Step 10: Slice and Serve
Finally, slice the assembled sliders into individual portions. Arrange them on a serving platter while they’re still warm, ready for everyone to dive in. With their crispy tops and flavorful fillings, these Italian Grinder Sandwich Sliders are a perfect addition to any gathering.
What to Serve with Italian Grinder Sandwich Sliders
The perfect accompaniment can elevate your sliders from good to unforgettable, creating a well-rounded meal for any occasion.
- Crispy French Fries: The crunchy texture contrasts beautifully with the warm, cheesy sliders, offering a familiar comfort food experience that everyone loves.
- Coleslaw: A refreshing, tangy side that adds a delightful crunch and balances the savory richness of the sliders. Its creaminess pairs perfectly, making each bite shine.
- Garlic Knots: Warm and buttery, these tasty bites complement the Italian flavors in your sliders while providing an irresistible, chewy texture that your family will adore.
- Caprese Salad: Fresh tomatoes and mozzarella with basil create a bright, vibrant side that enhances the Italian theme while offering a burst of refreshing flavor.
- Roasted Vegetables: A colorful medley of seasonal veggies brings nutritious elements to the table while their charred sweetness contrasts wonderfully with the savory sliders.
- Sparkling Italian Soda: A bubbly drink that adds a festive feel to your meal; the sweetness of the soda balances the savory elements, offering a delightful contrast.
- Chocolate Chip Cookies: End your meal on a sweet note with these warm, gooey treats. The indulgent chocolate paired with milk complements the sliders perfectly while satisfying any sweet tooth.
Italian Grinder Sandwich Sliders Customizations
Dive into the world of flavors and make these sliders your own! With just a sprinkle of creativity, you can elevate your family favorite to new heights.
-
Meat Variations: Substitute turkey ham with roast beef or chicken for a unique flavor twist that suits your palate. Imagine the rich, savory taste that roast beef injects!
-
Cheese Swap: Try using mozzarella instead of provolone for a creamier texture. It melts beautifully and pairs perfectly with the savory meats.
-
Vegetable Medley: Add sliced tomatoes or cucumbers for extra crunch and freshness. The juicy tomatoes provide a pop of color and flavor that enhances the overall experience.
-
Spicy Kick: Incorporate jalapeños or spicy deli meats like spicy capicola for an irresistible heat. Your taste buds will be dancing in delight!
-
Healthier Choice: Use Greek yogurt instead of mayonnaise for a tangy, lighter topping option. It adds creaminess and protein while keeping it healthier—what’s not to love?
-
Alternative Buns: Switch out the Hawaiian rolls for whole wheat sliders for a nutty flavor and added fiber. This simple change can make your sliders a tad more wholesome.
-
Herb Enhancements: Experiment with fresh herbs like basil or oregano instead of dried Italian seasoning for a vibrant flavor kick. Fresh herbs can bring an aromatic experience you’ll adore!
-
Nutty Crunch: Toss in some toasted pine nuts or walnuts in the topping for a delightful crunch that contrasts beautifully with the soft sliders.
Feel free to experiment with these variations! If you need more ideas for creative sandwiches, consider checking out these Flavor Packed Sandwich ideas or give the Italian Ground Turkey a try!
Make Ahead Options
Preparing Italian Grinder Sandwich Sliders ahead of time is a fantastic way to streamline your meal planning! You can assemble the sliders up to 24 hours in advance by layering the meats and cheese on the bottom half of the rolls, then placing the top halves on and covering tightly with plastic wrap. This will help maintain their freshness. For the toppings, mix your lettuce, onions, and other ingredients but hold off on adding mayonnaise until just before serving to prevent sogginess. When you’re ready to bake, follow the instructions as normal, and you’ll have just as delicious sliders that are perfect for last-minute gatherings!
Storage Tips for Italian Grinder Sandwich Sliders
Fridge: Keep leftovers tightly wrapped in plastic wrap or in an airtight container in the refrigerator for up to 2 days to maintain freshness.
Freezer: Freeze assembled sliders (without toppings) individually wrapped to enjoy later. They will stay fresh for up to 3 months—just thaw and bake before serving.
Reheating: To reheat, place in a preheated 350°F (175°C) oven for about 10-15 minutes, until warmed through and the cheese is melty again.
Avoiding Toppings: For best results, freeze the sliders without the lettuce topping, adding it fresh just before serving for a crisp, delightful crunch in your Italian Grinder Sandwich Sliders.
Expert Tips for Italian Grinder Sandwich Sliders
- Freshly Shredded Lettuce: Use freshly shredded lettuce rather than pre-bagged to ensure maximum crunch and vibrant flavor.
- Avoid Overstuffing: Don’t overfill your sliders as it can lead to a messy outcome. Balance is key for the perfect Italian Grinder Sandwich Sliders.
- Serve Immediately: Bake and serve right after adding toppings to keep everything fresh and vibrant.
- Prep Ahead: Prepare meat and cheese layers in advance to save time during busy weeknights.
- Proper Storage: Store leftovers in the refrigerator for up to 2 days or freeze before adding toppings for the best results.
Italian Grinder Sandwich Sliders Recipe FAQs
How do I choose the right rolls for my sliders?
When selecting Hawaiian rolls or slider buns for your Italian Grinder Sandwich Sliders, look for soft and fluffy ones that can hold up against the fillings. If you’re aiming for a healthier twist, whole wheat rolls are a fantastic alternative that adds flavor and nutrients without sacrificing texture.
What is the best way to store leftover sliders?
To enjoy your leftover Italian Grinder Sandwich Sliders, wrap them tightly in plastic wrap or place them in an airtight container in the refrigerator—this ensures they stay fresh for up to 2 days. For longer storage, you can also freeze them (without toppings) for up to 3 months, just remember to thaw them in the fridge before reheating.
Can I freeze Italian Grinder Sandwich Sliders?
Absolutely! To freeze, assemble your sliders but leave out the toppings like lettuce, mayonnaise, and other fresh ingredients. Wrap each slider individually in plastic wrap and store them in a freezer-safe container. When you’re ready to enjoy them, simply thaw overnight in the refrigerator and bake at 350°F (175°C) for about 15-20 minutes until warmed through and cheesy again.
What should I do if the sliders come out soggy?
If you find your sliders are a bit soggy, it could be due to overstuffing or not toasting the tops thoroughly. To prevent this, be careful not to overload the fillings and ensure you brush enough melted butter over the top before baking to get that golden crisp. If you encounter sogginess after baking, reheating them in the oven uncovered can help crisp them back up.
Are there any allergy considerations with the ingredients?
Yes, there are a few ingredients that may pose allergy concerns. The primary allergens in these Italian Grinder Sandwich Sliders are gluten (from the rolls), dairy (from the cheese and butter), and possibly eggs (in mayonnaise). For guests with these allergies, consider using gluten-free rolls, dairy-free cheese, and a vegan mayo alternative. Always check labels to confirm you’re using allergen-free products.
How do I customize the flavors of my sliders?
The beauty of these Italian Grinder Sandwich Sliders lies in their customization! You can mix and match various meats such as roast beef or chicken, and cheeses like mozzarella or gouda. Feel free to add spicy elements like jalapeños, or switch the toppings with sliced tomatoes, cucumbers, or even fresh herbs like basil for an exciting twist. The more the merrier when it comes to flavors!

Italian Grinder Sandwich Sliders: Your New Family Favorite
Ingredients
Equipment
Method
- Preheat your oven to 350°F (175°C). Gather your ingredients while the oven heats up.
- Slice Hawaiian rolls in half horizontally and place bottom halves in a greased baking dish, cut side up.
- Layer turkey ham, salami, and pepperoni across the bottom half of the rolls.
- Place slices of provolone cheese on top of the layers of meat.
- Place the top halves of the rolls back onto the filled bottom halves and press down slightly.
- In a small bowl, combine melted butter, garlic powder, Italian seasoning, and grated parmesan cheese. Brush over the tops of the rolls.
- Cover the baking dish with foil and bake for 15 minutes. Remove foil and continue baking for an additional 5 minutes.
- While baking, prepare topping by combining lettuce, onion, banana peppers, mayonnaise, olive oil, red wine vinegar, and black pepper.
- After baking, let sliders cool for a few minutes. Spoon the lettuce mixture inside each slider.
- Slice the sliders into individual portions and serve warm.
Leave a Reply